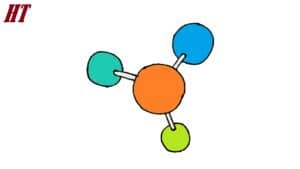
Please see Molecule drawing tutorial in the video below
So I am happy to offer you a very unusual and interesting drawing lesson in which I will tell and show you how to draw a molecule step by step. This simple lesson consists of six steps that each of you can easily follow.
Completing this lesson will help you practice drawing different geometric shapes. To make your drawing look neater, you can use rulers and compasses as needed, and you can also try sketching out these elements without additional tools. All substances are made up of molecules.
A molecule is the smallest particle of any complex substance—it can be composed of the same or different atoms. Moreover, the number of atoms in it is from two to tens of thousands. The molecules are very small. This molecule is many times smaller than a medium-sized apple because an apple is smaller than a globe. They, like atoms, are not visible with a simple microscope. Since molecules are minimal, there are many of them in any given object.
Molecule Drawing Step by Step
Step 1. Draw the outline of an atom.
To complete this simple step, you need to draw a circle as shown in the picture.
Step 2. Draw the connecting lines.
To draw the lines of communication between the atoms, draw an additional shape of lines and arcs.
Step 3. Draw the outline of another atom.
At the end of one of the drawn shapes, draw another circle, as in the example.
Step 4. Sketch the third atom.
At the bottom of the drawn elements, add another circle that is smaller than the drawn elements.
Step 5. Add the last atom of the molecule.
On the left side of the drawing, draw another circle, slightly without bringing the outline of the border to the end.
Step 6. Color the drawing.
To color the molecules, use red, green, gray as well as shades of blue.


