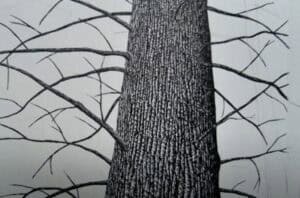
Please see Tree Bark drawing tutorial in the video below
In this tutorial, I will show you how to draw tree bark. You will gain useful skills that will be useful to you in the future.
Drawing bark is very simple. This lesson consists of only six steps that are accessible and easy to understand. You don’t have to repeat the lines like in my example, the main thing is to remember the sequence of steps.
Free lines are allowed in this lesson. The bark has an uneven surface and consists of many grooves of various shapes and sizes. You just have to master the simple elements that make up the relief of the bark and keep repeating these elements.
Tree Bark Drawing Step by Step
Step 1. Draw the frame.
Outline a straight rectangle.
Step 2. Start drawing the bark texture on the left.
With the help of serrated lines, depict the protrusions and dents on the surface of the bark.
Step 3. Draw the bark in the middle.
At this stage, continue to execute the same lines.
Step 4. Add details.
Repeat the previous step and sketch a few more freeform embossed lines.
Step 5. Add details.
On the right side, draw the same jagged lines.
Step 6. Color the drawing.
Use a pencil to darken the cracks or use several shades of brown.


