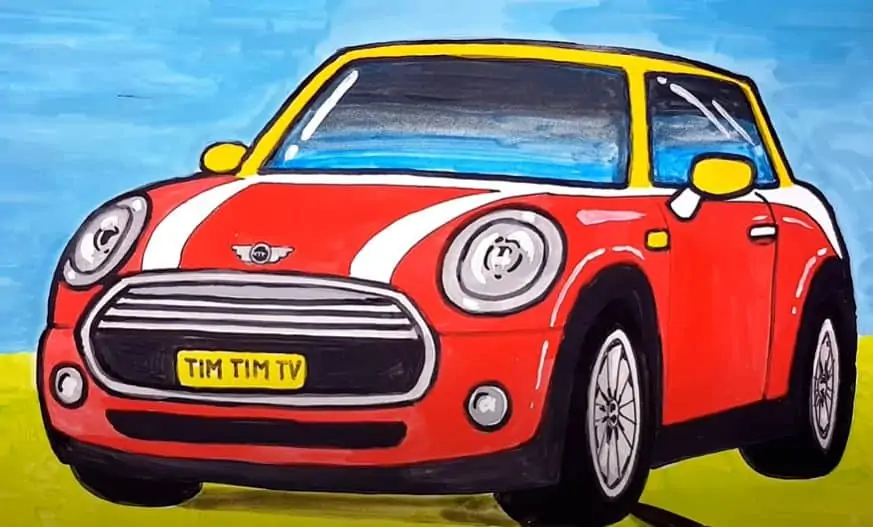
How to Draw a Mini Cooper easy with this how-to video and step-by-step drawing instructions. Car Drawing tutorial for beginners and kids.
Please see the drawing tutorial in the video below
You can refer to the simple step-by-step drawing guide below
Step 1
Let’s start drawing the Mini Cooper outlining the general outline of our future car, as you can see in the example below. Use light and blur lines in this and the next step.
Step 2
Continuing to use light and translucent lines, we outline the headlights and round grille in the front part. The side of the car outlines the wheels and rearview mirror.
Step 3
Grab a darker pencil and start adding the final details, following our advice. First, we draw round headlights and a grille with a number plate in the center.
Step 4
We continue to draw the front part of our Mini Cooper. Use a smooth line to draw the bumper and hood. In the middle of the hood is the Mini Cooper logo and a small air intake. In the lower part of the bumper pull the fog lights.
Step 5
Draw the windshield and then the roof, guiding the lines from the first step. Next, draw the side windows and rearview mirror.
Step 6
We continue our drawing lesson on how to draw Mini Cooper. Here we draw the door, handle and bottom of our car.
Step 7
Use very fine lines to draw round wheels like in our example. Don’t forget to draw massive wheel arches.
Step 8
Draw the wheel rim as in our example (or design your own rim). If your Mini Cooper drawing was done using the simple pencil technique, then you must shade the drawing. This will give the car a three-dimensional look and volume. Use the bloom light to add shadows like in our example.