How to Draw a Feather easy step by step for childrent with this how-to video and step-by-step drawing instructions.
Please see the drawing tutorial in the video below
You can refer to the simple step-by-step drawing guide below
Step 1
Start by drawing a long, slightly curved diagonal. This line will form the central axis, or central “body,” of the hair.
Step 2
Draw a second line, slightly curved along the first. Allow two lines to meet at a point at the top.
Step 3
Surround the bottom of the shaft, the area known as the brush, using a series of short curves.
Step 4
Extend a straight, short line from the top of the feather. From this highest point, draw two curves inclined toward the feather.
Step 5
Comes with the shape of fur. From the lines drawn in the previous step, extend the long curves parallel to the axis of the feather. Connect these lines to the fur, root, using short curves.
Step 6
Add details to your fur. Extend the pair of curves from the contour of the hair toward the axis. Before reaching the axis, allow the lines to meet at sharp points, enclosing narrow triangles.
Step 7
Delete the guide lines from the feather. Triangles drawn in the previous step now appear as dents between the rotor or feather branches.
Step 8
Draw short, curved lines near the base of the hair and from the center of some dents. The wings of a feather often stick together due to friction between the machete and the single beam – the smaller branches – but these lines show that the fibers do not stick together.
Step 9
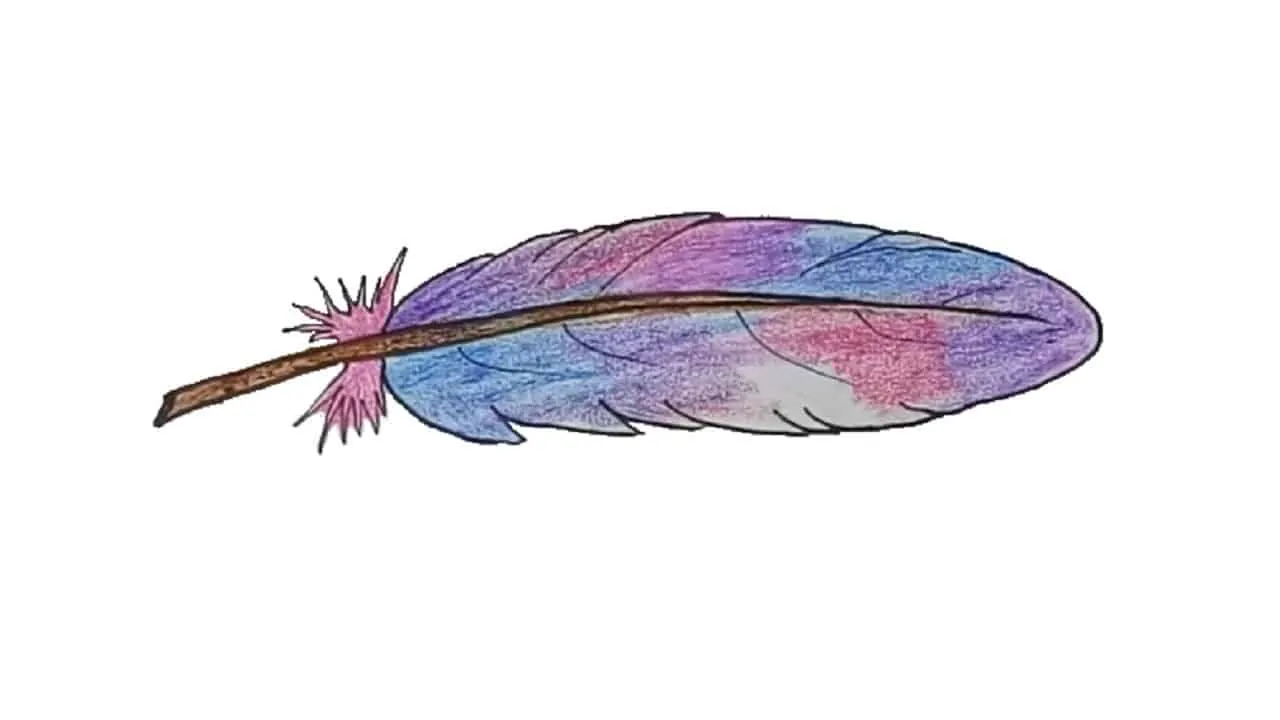
Finally, let’s add a lot of color to the feather.