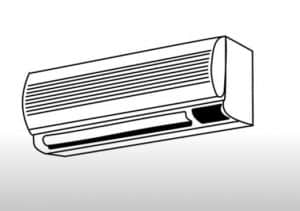
How to Draw an Air Conditioner easy with this how-to video and step-by-step drawing instructions. Easy drawin tutorial for beginners and kids.

Please see the drawing tutorial in the video below
You can refer to the simple step-by-step drawing guide below
Step 1
First draw the contours of the trapezoid. You can use a different geometry if you have a different point of view.
Step 2
Let’s draw a side end of the conditioner. To do this, you should draw a vertical line to the right of the trapezoid from the previous step.
Step 3
Draw two horizontal lines on the front end of the air conditioner. Note that these lines should not be parallel to the lines from the first step.
Step 4
We have a simple rectangular solid. Now, let’s create a circuit like an air conditioner block. Ideally this part should look like a round bottom like in our sample.
Step 5
Now we draw some horizontal lines on the front of the air conditioner. In our sample, you can see a lot of well-cut and well-cared sugar. You can draw less lines. However, make sure that the contours are parallel to the contours from step three.
It’s a drawing tutorial on how to draw an air conditioner. The main difficulty of this lesson lies in the large number of straight lines. This is a great exercise for anyone who wants to learn how to draw precise geometries without using a ruler.


