
Hello everyone, welcome to today’s blog post. Today’s post is great, hope you all will enjoy it. Guys, I uploaded two posts yesterday, if you want to see, there is a Latest post in the sidebar, by clicking on the word, you can access the following post. By the way, this drawing video is the tutorial below so you can help in making this drawing. By the way, you must have understood by looking at the thumbnail and title of this post what I provide in this post, then let me tell you that in this post I provided the drawing Girl to all of you, in which I will explain to you all how to draw Girl by pencil.
Watch in the following video tutorial
A Girl wearing winter cap Drawing step by step
Step 1. Sketch the winter hat
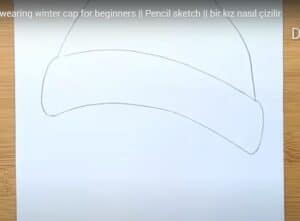
First we need to sketch the winter hat, it is very simple including the thicker bottom edge of the hat and the hat has a cone shape as shown in the illustration.
Step 2. Sketch the face frame
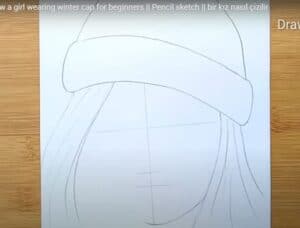
Next, to accurately draw the details of the beautiful girl, we need to use a ruler to mark the positions of the face right below the hat with a cross, on both sides are the girl’s loose hair.
Step 3. Draw the face details
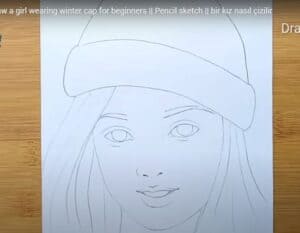
Draw the girl’s face details with her eyebrows, nose and mouth, pay attention to draw balanced on the frame just sketched. Then need to erase the excess details of the sketch.
Step 4. Complete the face
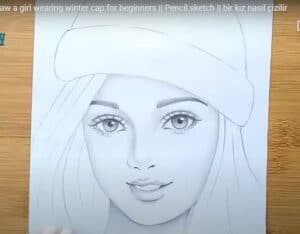
Next we need to use a pencil to continue to darken, shade the details of the girl’s face, balance the light and dark ratio of the drawing. Practice and you will see that this step is not too difficult.
Step 5. Finishing the hair

We continue to use the pencil to persistently draw the girl’s hair strands and pay attention to making the hair shiny and smooth as shown in the illustration.
Step 6. Finishing the winter hat and finishing the drawing

Finally, finish the beautiful girl’s warm winter hat with even vertical stripes on the hat. Or check the details that are not satisfied and erase the unnecessary details so you can draw a beautiful winter girl!
Looking at this pencil drawings, you might think it might be very difficult to draw it or how it will be done, then I will tell you that this drawing is easy if you watch the tutorial video. This drawing you will also see this drawing will look very easy. To make this drawing you will need a named DOMS (ZOOM ULTIMATE DARK), I hope you all have understood at this point. There are other materials that if you use it to draw this picture, you should be able to do this very easily.
I have already told you all this information, now you just need to make this drawing, if you want, for that I also provide the video tutorial for you, given below, with the help of you, you can make this drawing without any confusion. If you still have any confusion then you can message me or comment on our contact page.
Companion, you should share this exercise tutorial video to the extent that you can expect, and moreover my article, below is the coupon capture section by squeezing it. Watch the full video of this tutorial as you won’t have the option to create this drawing until you watch this tutorial. If you haven’t seen any point in this post yet, at that point you can comment or you can message me by contacting the Contact Us page on my blog.
Guys, if you liked this post of mine, then please share it and if you haven’t sent an announcement to your blog, then do it so that the latest updates related to the drawing will reach you. before.
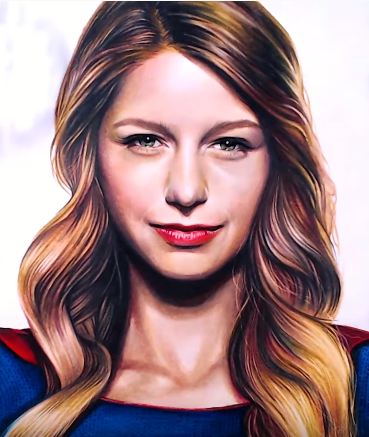
You can see more beautiful girl drawing with pencils:
Did this with my 8 y/o grand daughter and she loved it.