How to draw a flower pot with this how-to video and step-by-step drawing instructions. Flower drawing tutorial for beginners and evryone.

Please see flower pot drawing tutorial in the video below
In this tutorial, I will show you how to draw a flower pot. This tutorial is designed for beginners, so it uses simple lines and a few elements that you can easily repeat. As a result, you will get a beautiful drawing, and you will be proud of yourself.
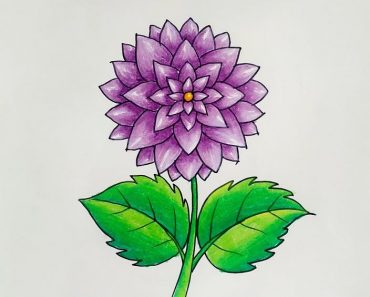
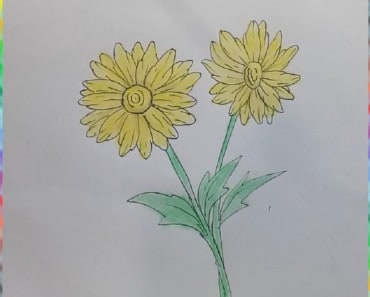
The picture shows two bright flowers with wide oval leaves. The pot has a simple shape and you will quickly draw it. At this stage you will need the ability to draw straight and even lines. The top and bottom have additional elements that serve as a decoration for the pot.
Follow all the drawing steps in sequence and use the little hints to get great results. So get all your art supplies ready and you can start this fun lesson.
flower pot Drawing Step by Step
Step 1. Start drawing the outline of the pot.
Using straight lines draw the outline of the pot. The top of the pot is wider than the bottom.
Step 2. Draw the bottom of the pot.
Draw a strip at the bottom for a narrow bottom.
Step 3. Start drawing the flower.
Outline the long stem and lush buds at the top.
Step 4. Add the second flower.
Describe a flower of similar shape, but slightly lower height.
Step 5. Draw the leaf on the first flower.
Using a smooth circular line, outline the broad leaf.
Step 6. Add the second leaf.
At the bottom of the stem, depict the second largest leaf. Draw a simple flower pot
Step 7. Draw the leaf on the other flower.
On the right side, outline a broad leaf with a rounded shape.
Step 8. Add details.
Draw the last leaf and ornament on the pot.
Step 9. Color the drawing.
You can use any color you like to color the flower pot.
You can see more drawing:
