Please see the drawing tutorial in the video below
You can refer to the simple step-by-step drawing guide below
Step 1
Use straight, but very light lines to draw a rectangle like in our example. Try to make the lines light so that in the next steps there won’t be problems adding fixes.
Step 2
With the help of light lines, separate the clothespin into two parts, add a spring and draw some details. This step is quite complicated but if you pay attention, you can repeat the clothespin sketch without any problems.
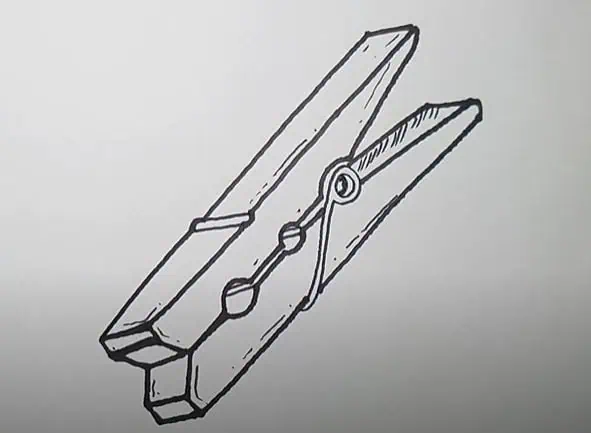
Step 3
Now with the help of clear and dark lines will draw out the clothespin. Remove all unnecessary rules. Your clothes pin drawings should be clean and beautiful, like the drawings by the artists of .com.
Step 4
And the last step of the lesson on how to draw a clothespin, where we just add some shadows. Add shadows in places like in the example below. Hatching will make your clothespin sketch look more voluminous and realistic.
Do you subscribe to our Twitter, Facebook and Pinterest pages? If not, don’t forget to do it, you won’t regret it. On our pages in these social networks we constantly publish a large number of different interesting images and announce upcoming articles.


