How to draw a Bullet Easy with this how-to video and step-by-step drawing instructions. Easy drawing tutorial for beginners and everyone.
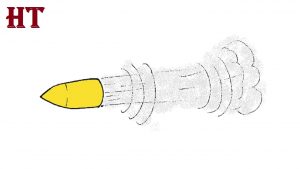
Please see the drawing tutorial in the video below
Bullet drawing step by step guide below
Step 1. Draw the Bullet
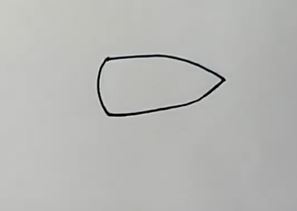
Use curves to draw a triangle, noting the rounded top and curved bottom. Notice that the shape is set at an angle. This forms the head of the object. This part is officially the piece of metal called a bullet, while the term is used to refer to the entire object, which is called a round bullet or cartridge.
Step 2. Add Details
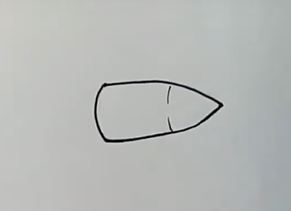
Near the top of the bullet, draw a short, curved line across the bullet to distinguish the body from the pointed tip.
Step 3. The Bullet
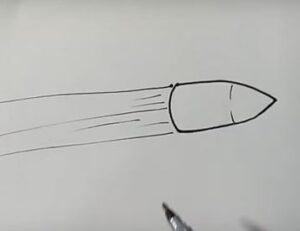
Draw a few straight lines behind the bullet. Note that the lines are set at a slight angle to each other; if they continued, they would meet at a point at the center of the bullet.
Step 4. Draw the Smoke from the Bullet
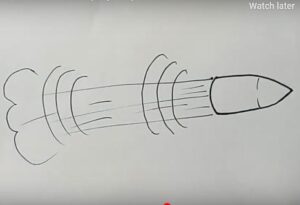
Draw the “poof,” the smoke left behind when the bullet is fired. Use overlapping curves to create an irregular, round cloud-like shape.
Step 5. Finish and Color

Finally, check and finalize the drawing for perfection then color.
In this lesson, we showed you how to draw a bullet. Traditionally, at the end of the tutorial we’ll give a few tips. You need to create a “metal ball” for your bullet drawings. For this use lighting and short horizontal lines. Also, we draw your attention to the fact that even though today we are drawing a bullet for the assault rifle, you can apply this lesson to draw any other type of ammo, because their structure is nearly the same. You can draw more smoke while the bullet is in flight.
You can see more drawings:
