Please see the drawing tutorial in the video below
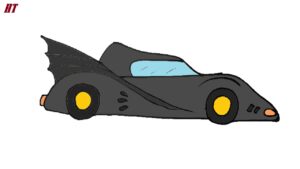
Batmobile Car Drawing step by step
Step 1. Draw the Roof and Windshield
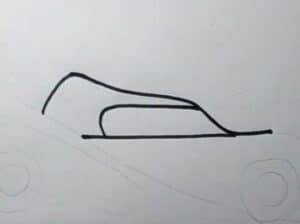
First, draw the pointed shape of the Batmobile’s roof.
Add the Batmobile’s long windshield.
Step 2. Create the Front
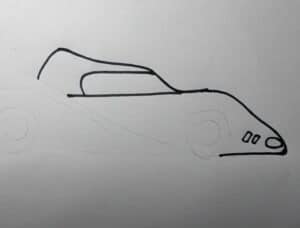
Create the pointed shape of the front of the car. Next, draw the oval headlights. Then, add two rectangular air vents.
Step 3. Sketch the Underside of the Body and Rear
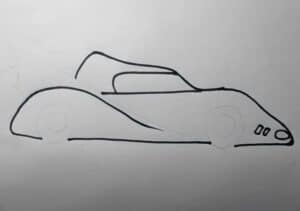
Draw a horizontal line below the body, making sure to leave room for the wheels or you can draw it with a pencil and erase it in the next step.
Continue to create a long curve to form the rear fender and the rear of the Batmobile. Then, attach the taillights near the rear base.
Step 4. Attach the Tailfin and Texture
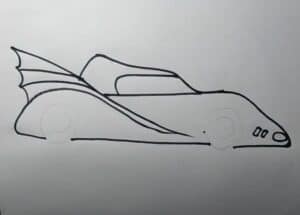
Attach a tall, pointed Tailfin that resembles a bat’s wing. Draw two curves to add texture to the Tailfin of the car.
Step 5. Sketch the Wheels
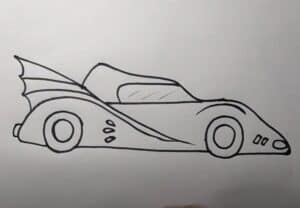
Sketch the two ring-shaped wheels on the Batmobile’s base. Then, add three thin air vents near the rear wheels.
Step 6. Color the Batmobile
First, color the windshield in light blue. Next, color the headlights and taillights in orange. Now, color the tires black and the wheels yellow. Finally, use darker shades of gray to color the rest of the Batmobile.
You can see more car drawings:


5