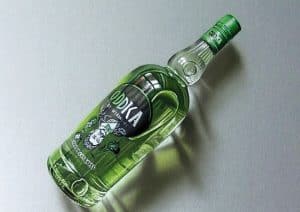
How To Draw A 3D Bottle with this how-to video and step-by-step drawing instructions. 3D drawing tutorial for beginners and everyone.

Please see the drawing tutorial in the video below
You can refer to the simple step-by-step drawing guide below
Before we can draw a bottle in 3d, we have to know how to draw a bottle from the side. Draw these principles. I draw a line down the middle and then draw lines out of it, each with an equal line facing it. If you want to get this perfect, a ruler can be used to see how long the lines are supposed to be, but this is not necessary. If you are using Krita, then a square with 1 height and any width can be used to draw the lines, just like I did.
Before we can draw a bottle in 3d, we must know how to draw cylinders and cones in 3d. Draw as many pairs of ovals as you like, although try to keep the height and width ratios roughly the same between pairs of ovals. If you don’t draw digitally, you might have trouble drawing ovals, but do your best.
Now, what we are all waiting for, a bottle in perspective! First, we need to draw two lines going to the vanishing point of the drawing. Now, if you’re using Krita or something like that, the “Auxiliary Tool” is in “perspective mode” to set an assistant that spans two lines, but otherwise a simple line goes up between is okay! Then draw an oval at the bottom of the lines, making sure that it touches both lines but doesn’t go over them. Draw another one higher, also touching the lines (make it bigger), but not near the top as there will be things above it.


