Cute Girl Drawing by Pencil with this how-to video and step-by-step drawing instructions. How to draw a girl for beginners and All.

Please see the drawing tutorial in the video below
► Used things:
1. Pencil Name – DOMS ( ZOOM ULTIMATE DARK ) Pencil / 2B Pencil and Artline love art sketch pencil 8B
2. Paper Name – Double A Offset paper
3. Blending Stump (You can use Paint brush, Tissue Paper or cotton buds instead of this blending stump).
Cute girl drawing step by step:
Step 1. Basic Sketch
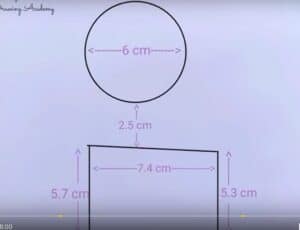
Start with a basic, light sketch of the head. Use simple shapes like circles and rectangles. Draw a circle for the head and a long rectangle for the body. Add guidelines to indicate the center line of the face, eye level, and where the facial features should be.
Step 2. Hair
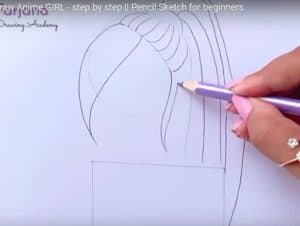
Draw the hair around the face. Use soft, flowing lines to create a sense of flow and movement. Add accessories like bows or headbands for added cuteness.
Step 3. Face Sketch
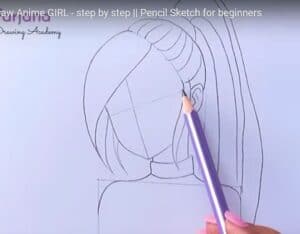
Draw the outline of the face. Divide the face into thirds horizontally and vertically. This will help you position the eyes, nose, and mouth correctly.
Step 4. Eyes, Nose and Mouth
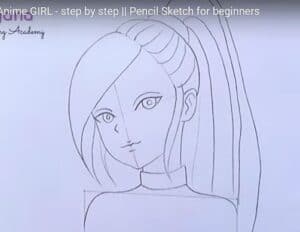
Draw the outline of the eyes on the top of the face. Cute characters tend to have larger eyes. Draw almond-shaped eyes with curved upper and lower eyelids. Add highlights for a glossy effect. Experiment with eyelash shapes for a cuter look.
Place the nose along the vertical center line, slightly lower than the horizontal center line. A simple, small, button-shaped nose is perfect for a cute girl’s personality.
Draw a small, slightly curved line for the mouth. Add a small curve above to define the upper lip. You can slightly curve the corners of the mouth to create a cute smile.
Step 5. Face and Expression:
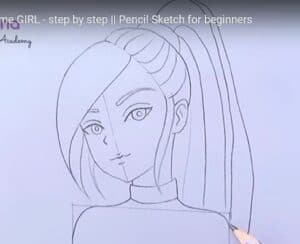
Refine the face shape and add details like eyebrows and eyelashes. Experiment with different eyebrow shapes to express the desired expression, such as innocence or mischief.
Step 6. Body, Outfit, and Details
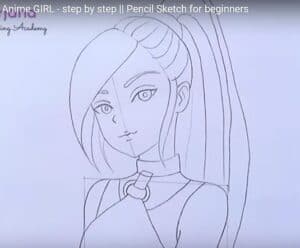
Develop the body line by slightly shading the oval you sketched earlier. Add simple outfits like a cute dress or top.
Add folds and details to the outfit. Don’t forget accessories like jewelry or a bag.
Step 7. Erase the extra path details
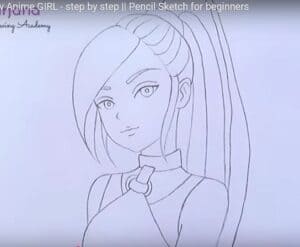
Next erase the extra path details, clean up the beautiful girl drawing.
Step 8. Shading, blending and highlighting

Use a variety of pencils (2B, 4B, etc.) to create shadows and depth in the drawing. Pay attention to the light source and shade accordingly. Use soft lines and gentle shadows to keep the character’s cuteness.
Use blending tools like tortillons or blend stumps to smooth out the shadows and create a more realistic, polished look.
Use an eraser to highlight the eyes, nose and lips. This will highlight those details and add life to your drawing.
Take the time to refine your drawing, adjust the details and make sure everything looks balanced and cohesive.

4.5