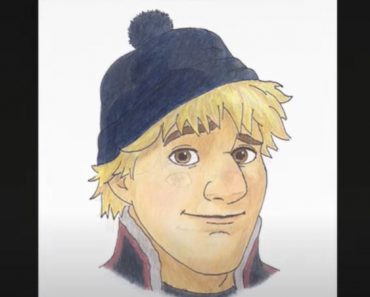
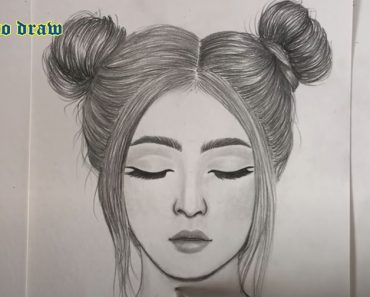
Beautiful Girl wearing winter cap Drawing with this how-to video and step-by-step drawing instructions. How to draw a girl for beginners and all.

Please see Girl drawing tutorial in the video below
► Used things:
1. Pencil Name – DOMS ( ZOOM ULTIMATE DARK ) Pencil / 2B Pencil
2. Paper Name – Double A Offset paper
3. Blending Stump (You can use Paint brush, Tissue Paper or cotton buds instead of this blending stump.
Girl wearing winter cap Drawing Step by Step:
Step 1: Basic outline
Start by drawing a simple oval for the head. This will be the base layer for the girl’s face. Then add a slightly curved line extending from the bottom of the oval as the neck.
Step 2: Face and features
Add two horizontal lines on the oval. The top line will represent the position of the eyes and the bottom line will represent the nose and mouth. Draw two circles on the top line as guides for the eyes. Add a small curve in the midline for the nose and a slight curve below the nose for the mouth.
Step 3: Eyes and eyebrows
Within the eye circle, draw smaller circles for the irises. Add pupil to iris, slightly off-center. Then, draw the eyebrows just above the eyes using short, curved lines. This will bring out the girl’s facial expression.
Step 4: Hair
Draw the girl’s hair around the top of her head, sticking out from under the winter hat. You can have wavy, curly or straight hair depending on the hairstyle you want.
Step 5: Winter hat
Draw a winter hat on the girl’s head. Start with a curved line following the contour of the head, then extend to the side to create the brim. Add some details like stitching on the brim of the hat. Draw a pom-pom on top of the hat if you want.
Step 6: Earmuffs (Optional)
If you want to add earplugs to the drawing, draw two circles on either side of the girl’s head, just above the ears. Connect these circles to the lid using curved lines.
Step 7: Neck and collar
Lengthen the neckline down and draw a simple collar around the neck. This will give the impression of a winter coat.
Step 8: Body and arms
Sketch the girl’s body using simple shapes. Draw shoulders and arms facing down from them. You can position your arms however you want – maybe one in your pocket and the other by her side.
Step 9: Details of clothes
Add some details to the winter coat, such as buttons or zippers, to make it more interesting and authentic.
Step 10: Shading and Highlighting
Add shadows to the drawing to create depth and dimension. Darken areas where shadows naturally fall, such as under the brim of a hat, around the neck, and under the hair. Add emphasis to the eyes, nose, and any shiny parts of the hat.
Step 11: Final Steps
Review your drawing and make any necessary adjustments. Remove any unnecessary instructions and tweak the lines as needed.
You can see more girl drawing:
-
Cute Anime Girl Drawing with Pencil || Beautiful Girl Drawing
-
How to draw a Girl with Short hair || Beautiful Girl Drawing
-
Beautiful Girl Drawing step by step – Pencil Drawing Tutorial

No Responses