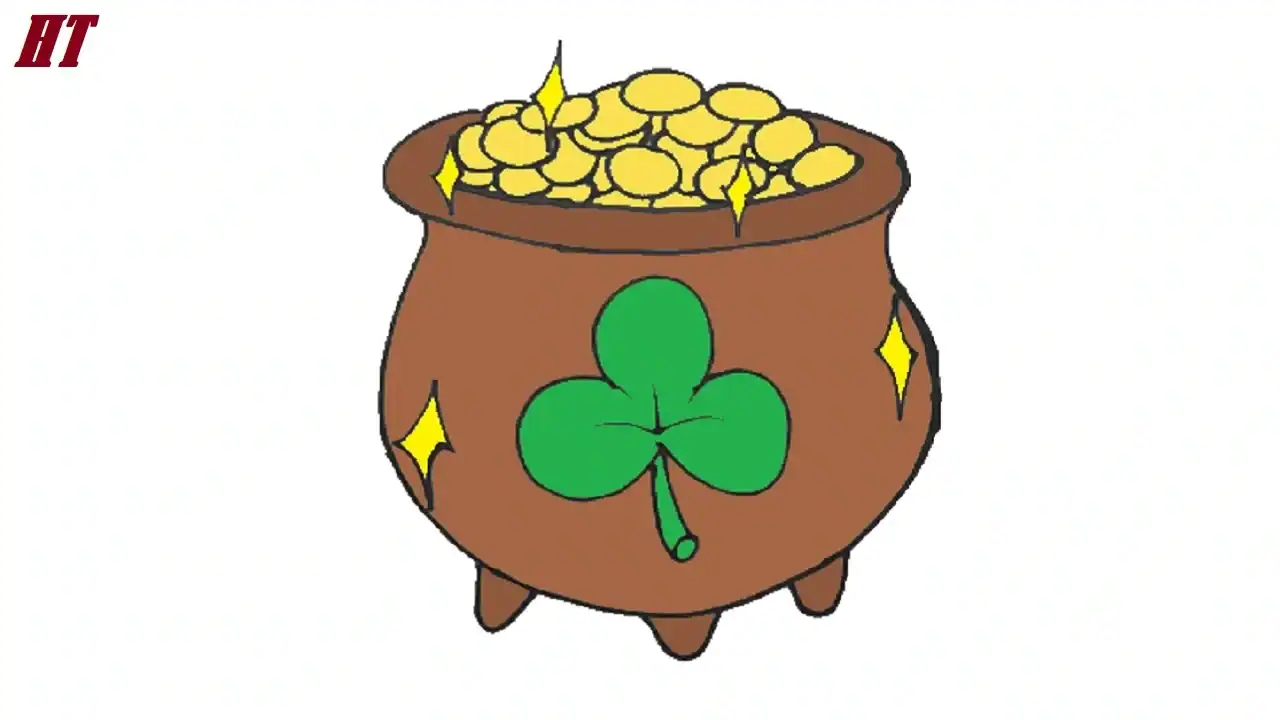
How to draw a Pot of gold easy with this how-to video and step-by-step drawing instructions. This easy pot of gold instruction guide is perfect for young kids looking to get started with drawing.
Please see the drawing tutorial in the video below
Pot of gold Drawing Step by Step
Step 1. Drawing the Outline of the Vase
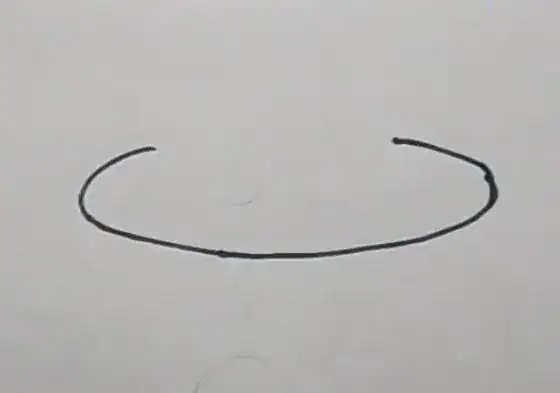
First, we sketch a large oval in the center of the paper. Note that if you’re drawing with ink like me, you should leave some space for the next step where you can draw the gold coins.
Step 2. Drawing the Body of the Gold Vase
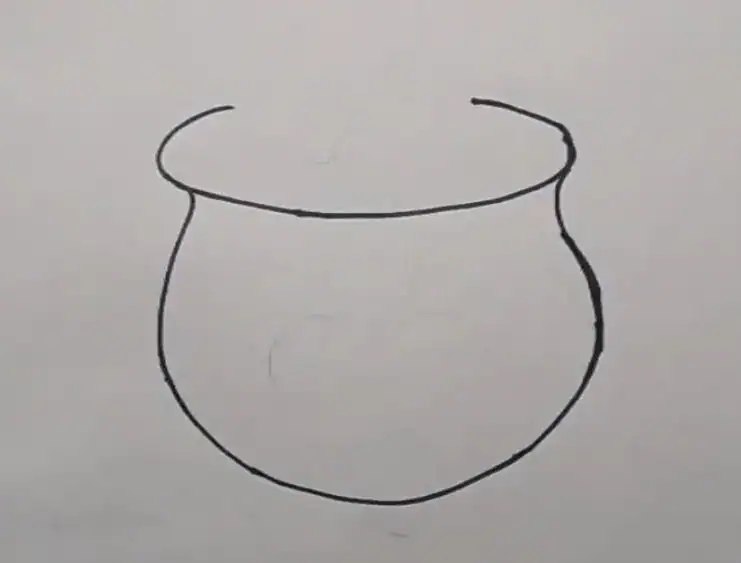
Next, we draw the body of the vase, similar to a large circle; see the illustration for instructions.
Step 3. Adding the Base
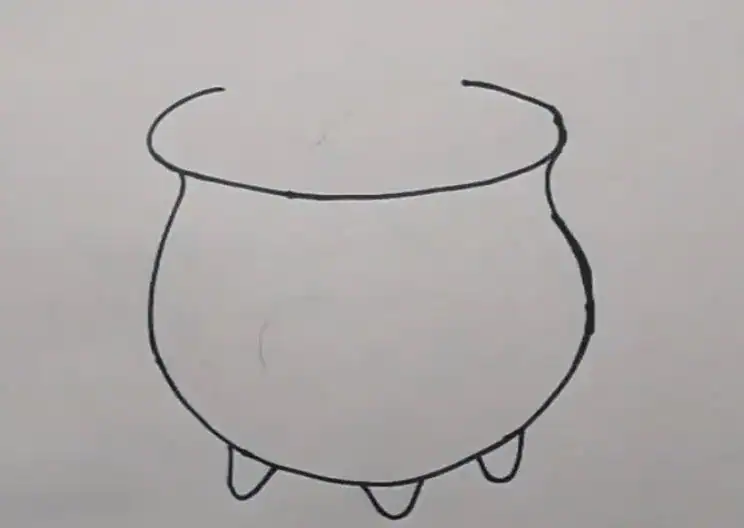
Below the vase, draw a few simple but decorative bases at the bottom.
Step 4. Drawing the Gold Coins

Begin drawing the gold coins stacked on top of each other. Each gold coin can be drawn as an oval. Fill the vase with gold by drawing many ovals! We’ll add some optional glitter effects.
Step 5. Adding the Clover Pattern

Now, we add a clover pattern to the front of this gold vase.
Step 6. Complete your drawing
Grab your crayons or colored pencils and finish your drawing of the gold jar! I mainly used green, yellow, and a little orange for this illustration.
You can see more gold drawings:


