How to draw Paper Mario with this how-to video and step-by-step drawing instructions. This lesson is designed to help you understand character design and illustration, which are important parts of creating video game art. You can always come back to this lesson whenever you want to practice more.
Please see the drawing tutorial in the video below
Paper Mario Drawing step by step
Step 1. Create the Face
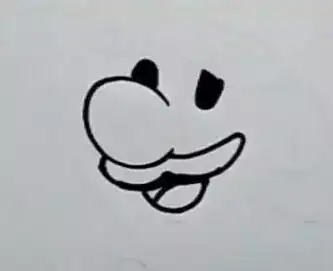
Draw Mario’s big round nose. Above the nose, add two ovals for the eyes. Next, sketch a thick mustache below the nose. Then, shape the mouth below the mustache.
Step 2. Draw the Head
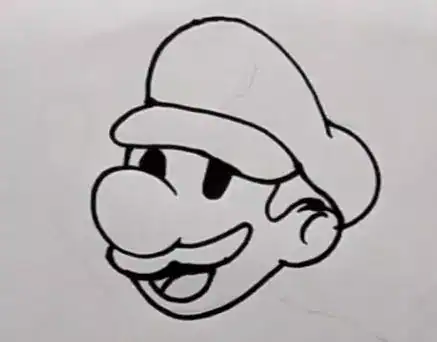
Next, draw the curve of Paper Mario’s head. Then, add round ears on the sides of his head. Sketch the hair sticking out from under his hat.
Add the Hat, drawing the shape of Paper Mario’s iconic hat on his head.
Step 3. Draw the Hat Logo

Draw the outline of the letter “M” on the front of the hat. Then, draw a circle around the letter.
Step 4. Draw the Arms
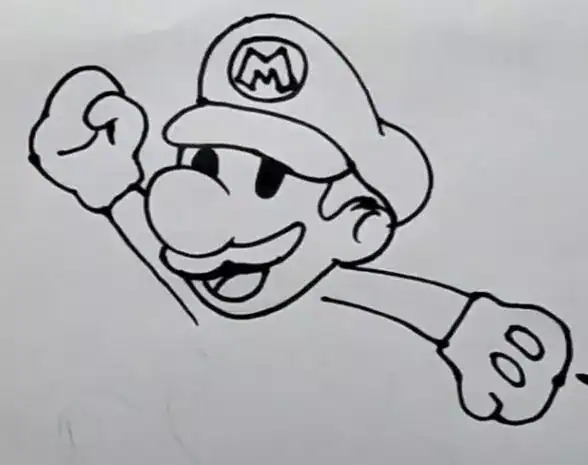
Attach the arms to the sides of his body. Now, shape the gloves. Remember to erase the overlapping lines.
Step 5. Create the Body
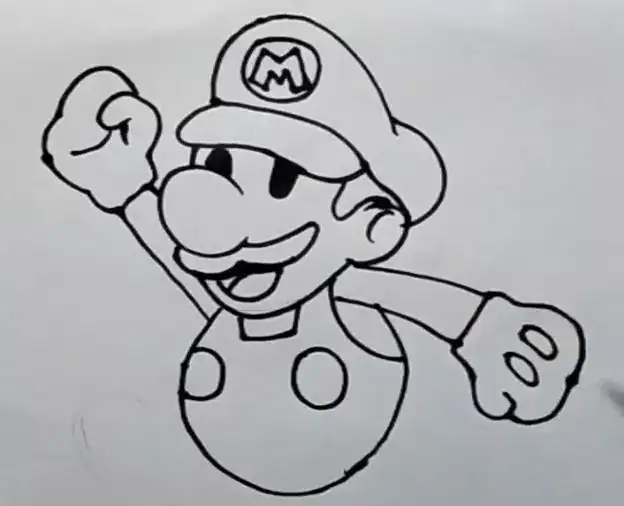
Give Mario a round body. Next, sketch the suspenders of his overalls. Then, add two large buttons.
Step 6. Add Shoes
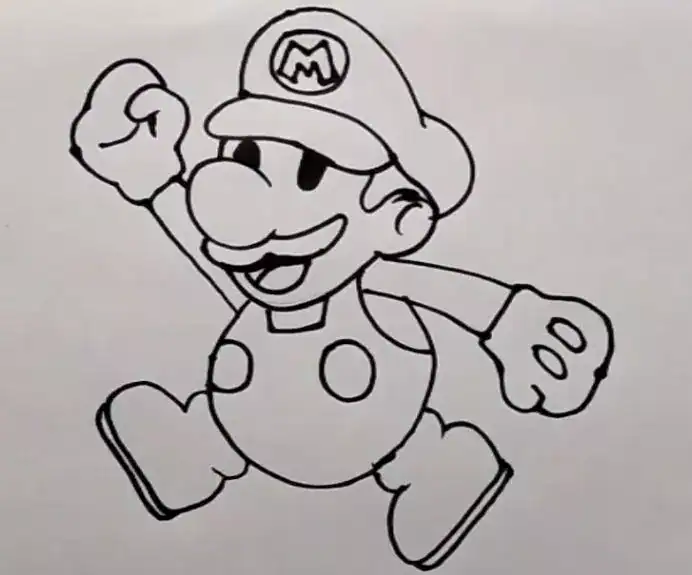
Create Paper Mario’s lower body shoes.
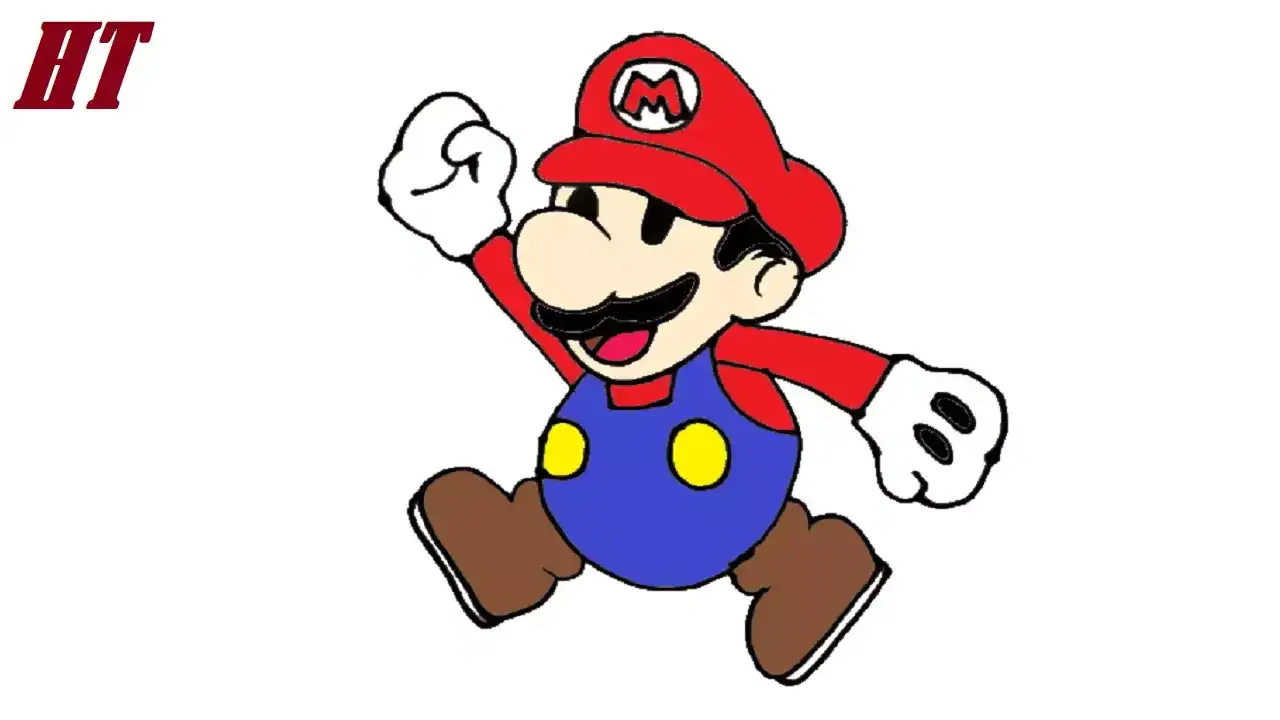
Coloring the Paper Mario Drawing
Let’s color the Paper Mario drawing! First, use peach to shade the skin, and dark brown for the hair and mustache. Next, color the eyes with black. Now, color Paper Mario’s hat and shirt with red. Color the overalls blue with yellow buttons. Color the gloves white with two black lines. Then, use light brown for the shoes and white for the soles. Finally, color the “M” on the hat red and fill in the circle background with white.


