How to draw Donkey Kong with this how-to video and step-by-step drawing instructions. As you learn, you will explore different aspects of character design. This includes paying attention to details like Donkey Kong’s tie and unique facial features. Remember, you can choose your own colors to make your drawing special.

Please see the drawing tutorial in the video below
Donkey Kong Drawing step by step
Step 1. Draw the Muzzle and Mouth
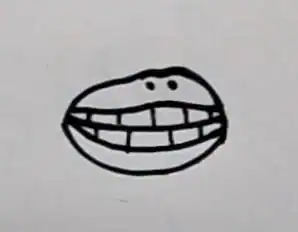
Start by drawing an oval for Donkey Kong’s snout. Make two bumps at the top of the snout and add two dots for nostrils.
Draw Donkey Kong’s big, toothy grin.
Step 2. Draw the Eyes
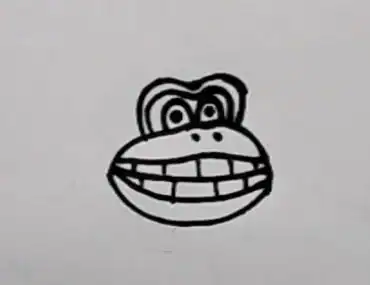
Draw two round eyes above the snout. Then, sketch out the skin around the eyes.
Step 3. Create the Ears and Hair
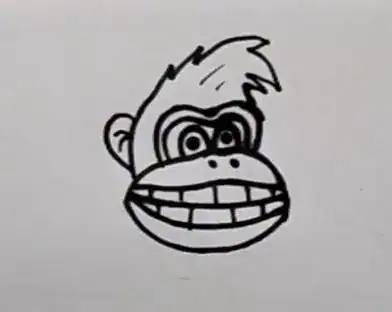
Attach a round ear on either side of Donkey Kong’s head. Then, create a tall, pointed tuft of hair at the top of his head.
Step 4. Add the Tie
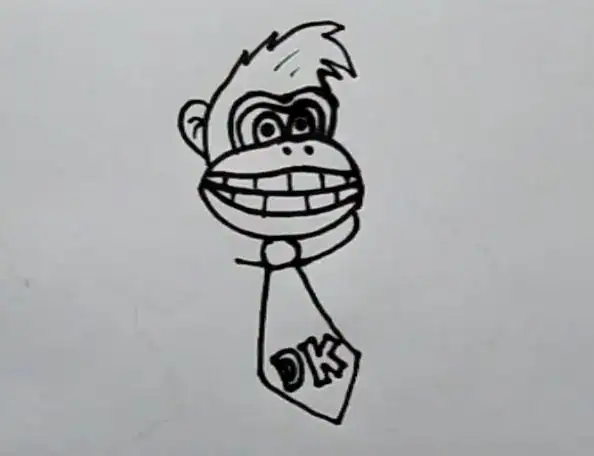
Draw the tie below the head. Now, sketch out the letters “DK” on the tie.
Step 5. Shape the Arms
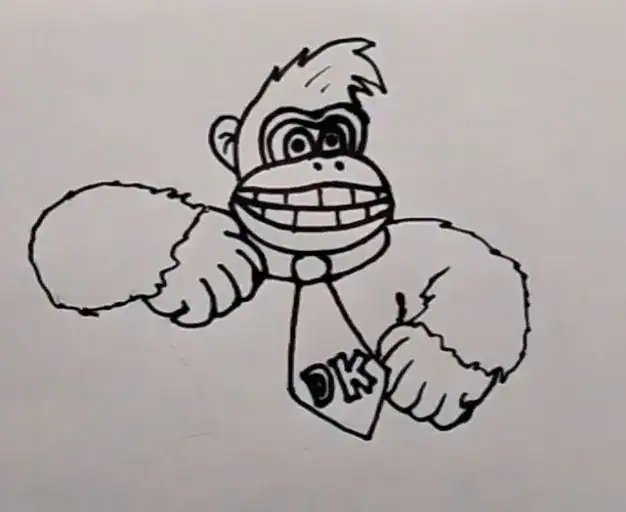
Create Donkey Kong’s long, hairy arms and large hands. Make sure to erase any overlapping lines.
Step 6. Sketch the Body

Draw Donkey Kong’s hairless chest. Then, sketch out the furry parts of the body around that chest area.
Step 7. Add the legs
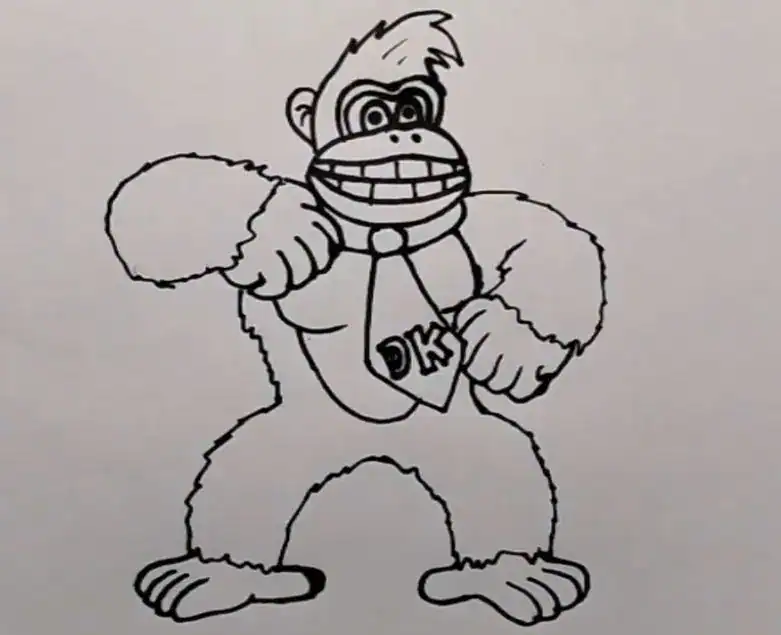
Draw Donkey Kong’s furry legs below the body. Now, create the feet.
Step 8. Color the Donkey Kong drawing
First, color Donkey Kong’s eyes black and white. Now, color the teeth white. Next, shade the area around the eyes with dark brown. Color the tie red and the letter “DK” yellow. Then, use brown for the fur on the body. Finally, use peach to shade the hairless parts of the face, chest, arms, and legs.
You can see more Kong Drawings:


Great article! I’ll definitely come back for more posts like this.