How To Draw King Kong easy with this how-to video and step-by-step drawing instructions. Easy drawing tutorial for beginners and All.
Please see the drawing tutorial in the video below
You can refer to the simple step-by-step drawing guide below
Step 1
Draw a circle for the head, then outline the contours of the face.
Step 2
You will use the facial guides to draw large arches for the nose.
Step 3
Next, let’s start with drawing thick and prominent eyebrows as well as the crease on the bridge of his nose.
Step 4
Draw in the eyes, add some wrinkles under the eyes, then draw in the nostrils for the nostrils. Add brow lines and finish the brows. King Kong needs to have a very serious and strong look.
Step 5
Start drawing the mouth by making an upside down smile. It is actually the upper lip. Draw the gum line and move on to step six.
Step 6
Finish drawing the open mouth. His mouth is open because he is roaring. Perfect the teeth and make sure that its fangs are long and pointed.
Step 7
Draw the thick tongue that outlines the inside of the lower mouth, then draw the rows of teeth and fangs at the bottom.
Step 8
Finally, outline the entire shape of King Kong’s head and face as you see here. Add layers of hair on either side of his face, then draw an ear. Erase your mistakes and you’re done.
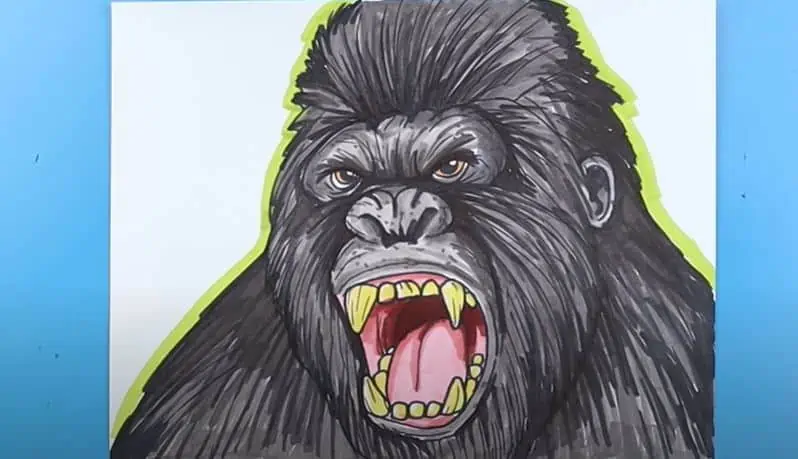
Step 9
That’s it, color in King Kong so you have a complete drawing of this massive beast.


