How to Draw a Coffee Pot with this how-to video and step-by-step drawing instructions. Easy drawing tutorial for beginners and all.
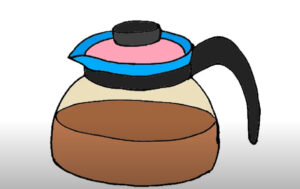
Please see the drawing tutorial in the video below
You can refer to the simple step-by-step drawing guide below
Step 1. Draw the Lid
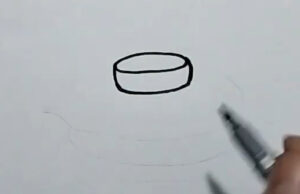
Attach the lid by drawing an oval and then creating a U-shaped line underneath.
Step 2. Create the Spout and Add the Lid
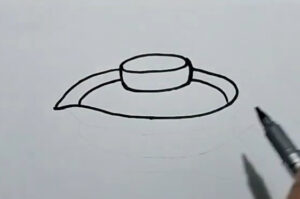
Create the spout of the coffee pot by drawing a curve as shown. Draw the back of the spout by drawing another curve.
Add the lid by drawing a curve downwards.
Step 3. Attach the Neck of the Coffee Pot
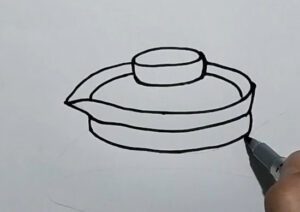
Attach the neck of the coffee pot by drawing a thin rectangle that curves upwards.
Step 4. Draw the Glass Pot
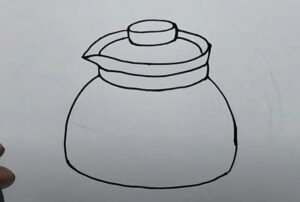
Draw the glass of the coffee pot by drawing a U-shaped line underneath the neck of the coffee pot.
Step 5. Draw the Coffee
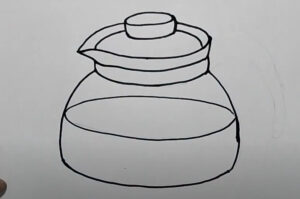
Draw the coffee inside the pot by creating a wide oval.
Step 6. Attach the Handle
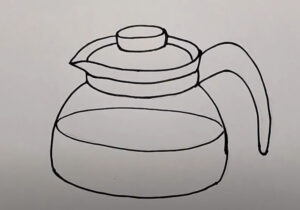
Attach the handle of the coffee pot by drawing the curve as shown.
Step 7. Finishing the Coffee Pot Drawing

Let’s finish the coffee pot drawing by first coloring the coffee with a dark brown crayon. Next, shade the glass jar with a white crayon and then add some purple to the edges. Now, color the lid and neck of the coffee pot with a gray crayon. Then, shade the lid knob, spout and handle of the coffee pot with a black crayon.
You can see more pot drawings:
