How to Draw a Wallaby with this how-to video and step by step drawing instructions. Follow along with these basic 7 drawing steps. You will learn the fundamentals for drawing a wallaby.
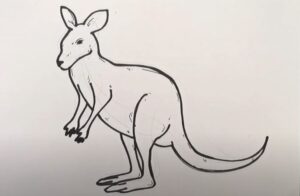
Please see Wallaby drawing tutorial in the video below
You can refer to Wallaby simple step by step drawing guide below
Step 1. shape the head
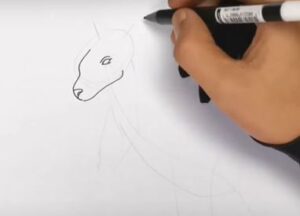
First, outline the oval shape of the wallaby’s head. Next, draw a shaded oval for the eyes. Now, create a triangle for the nose. Then add a small curved line on top to draw the mouth.
Step 2. Add ears
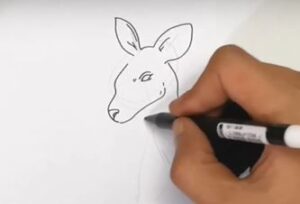
Draw two pointed shapes attached to the top of the wallaby’s head. Don’t forget to draw a diagonal line on each ear.
Step 3. Shape the front legs and chest
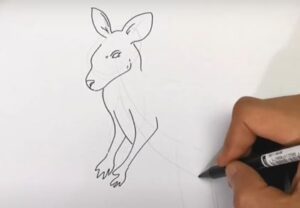
First, shape the wallaby’s arms with small feet similar to the illustration and add curves to the chest.
Step 4. Draw the hind legs and belly
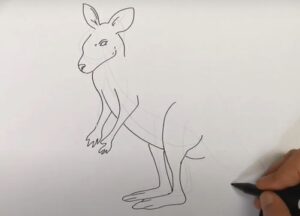
Next, draw the abdomen with small curved lines and the wallaby’s hind legs with long and large feet as shown.
Step 5. Attach the tail and complete the back
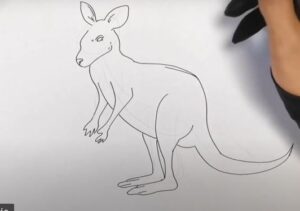
Attach the wavy pointed shape of the wallaby’s tail to its body. Add curves to complete the back.
Step 6. Add details
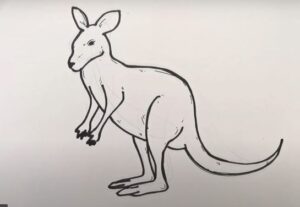
Finally, add some details on the Wallaby’s body to make it look more realistic and you can use a darker pen to redraw the details just drawn.
Step 7. Complete the Wallaby drawing
Let’s complete the wallaby drawing by maybe adding a little color! First, use a dark brown pen to color the paws, nose, inside of the ears, and the tip of the tail. Next, color the mouth, belly, and underside of the tail with a light brown pencil. Then, use a brown pencil to fill in the rest of the wallaby’s body.
