How to Draw a Tapir with this how-to video and step by step drawing instructions. This easy tapir tutorial is perfect for younger children looking to learn how to draw.
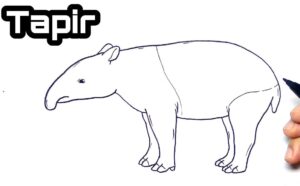
Please see Tapir drawing tutorial in the video below
You can refer to Tapir simple step by step drawing guide below
Step 1. Sketch the head
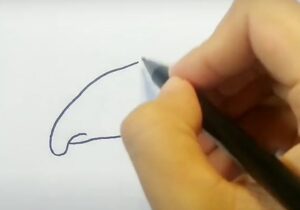
Sketch the head shape with the long snout of the tapir!
Step 2. Add ears
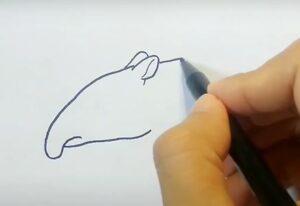
First, sketch the shape of the pointed ears. Next, draw a curved line forming the inside of the ear.
Step 3. Draw the back
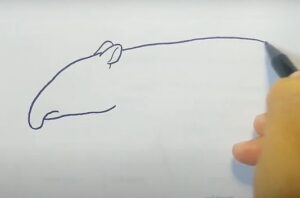
Next draw the back using a curved line, ending at the tail.
Step 4. Attach the legs and the bung
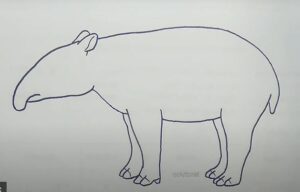
First, sketch the tapir’s two long, slender legs attached to its lower body. Next, create the claws by drawing three triangles attached to the bottom of each leg. In the middle of the legs the front and back legs add curves to the abdomen.
Step 5. Draw the eyes
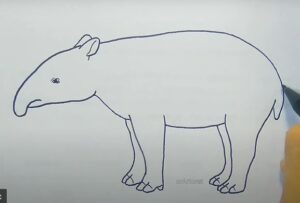
Draw the eyes by creating a shaded circle.
Step 6. Add fur pattern
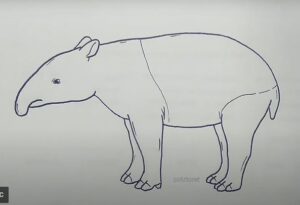
Add the hair pattern on the tapir’s body by drawing wavy lines as shown.
Step 7. Complete the tapir drawing
Let’s complete the tapir drawing by adding some color! First, use a black pen to paint inside the ear. Next, color in the pattern on the tapir’s back and tail with a white pen. Now, fill in the claws with a light gray pencil. Finally, use a dark gray pencil to color in the rest of the tapir’s body.
