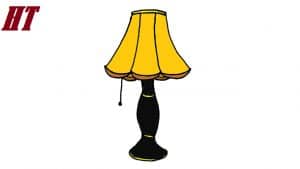
Lamp Drawing easy with this how-to video and step-by-step drawing instructions. How to draw step by step for beginners and kids.

Please see the drawing tutorial in the video below
You can refer to the simple step-by-step drawing guide below
Step 1
Here is another very simple tutorial. You’ll start it off by drawing two horizontal lines for the bulb. Now you draw a vertical line for the lamp post and then the table line. You will then add two more short dashes on the pole for the decorative aspect of the lamp.
Step 2
Now in this next step you will draw the first side of the bulb slightly tilted inward. Then add a ball shape at the top of the cylinder and then draw a light cylinder as shown. You will then finish this step by drawing the base shape as well as thickening the table top as shown.
Step 3
You will repeat step three by drawing the path of the light bulb also on an inclined slope. Draw the shape of the neck pillar and then the other side of the cylinder shape as seen. You will finish this step by drawing the rest of the base shape as seen here.
Step 4
At the very top of the lamp above the bulb you will attach a decorative screw holding the bulb. You will also detail the upper neck with lines. Thicken the board and then start erasing all the guides that you drew in step one. This will prepare your drawing for more color.
Step 5
Eventually your lights will appear like this. All you have to do now is color in your drawing and that’s it. You just learned how to draw a lamp step by step. I hope you enjoyed this guide. I’ll be back with more interesting drawing lessons after a while. So see you alligator later…


