How To Draw Lightning easy with this how-to video and step-by-step drawing instructions. Easy drawing tutotrial for beginners and kids.
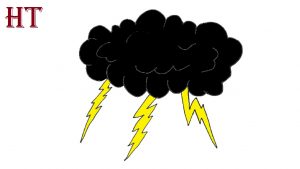
Please see the drawing tutorial in the video below
You can refer to the simple step-by-step drawing guide below
Step 1
Okay, are you ready for this simple tutorial? Good lets start over. First, all you will do here is draw a wide oval and then add a large plus sign in the center as shown to you here.
Step 2
In this next simple step, you will begin to draw the bumps or bulging shapes that make a cloud look like a cloud. Once you’ve done that, draw the single lightning bolts as seen.
Step 3
You are now at your final drawing step. How easy is that? I know it’s simply 1,2,3. You will complete your drawing by adding the top half of the storm cloud and then drawing the small cloud inside the cloud. Thicken the bolts as you see later here and then you can start erasing all the guides and shapes that you drew in step one.
Step 4
Here you have a perfect looking storm cloud and neatly drawn lightning bolts by you and me. All you have to do now is add a little color and that’s it. You just finished this step by step tutorial on how to draw Lightning.
Drawing, sketching supplies and Painting you may need:
- Assorted Color Sharpie Permanent Markers
- Glitter metallic paint pens sparkle water-based marker pen
- White sharpie extra fine paint markers pack oil based
- mixed media sketchbook drawing pad
- Sharpie permanent markers ultimate cosmic color collection
- Crayons for kids and everyone
- Prismacolor premier colored pencils
- Watercolor pens for painting
- Acrylic colour set for painting
- Paper for drawing and Painting

