How to draw Italy (map) Step by Step

How to draw Italy (map) with this how-to video and step by step drawing instructions. Easy map drawing tutorial for beginners and all.
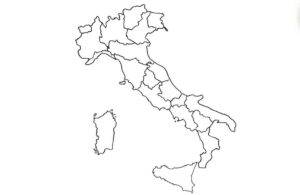
How to draw Italy

Please see the drawing tutorial in the video below

You can refer to the simple step by step drawing guide below

Gather Materials:

Prepare a piece of paper, a pencil, an eraser, and optional colored pencils or markers.

Outline the Basic Shape:

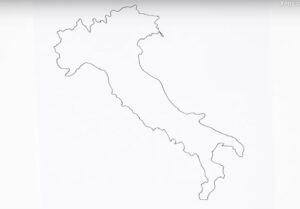
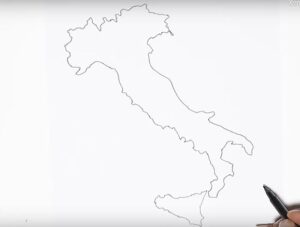
Start by drawing the basic outline of Italy’s boot-shaped form. Draw a long, narrow boot shape with a distinct heel and toe. Pay attention to the curved coastline, especially in regions like Calabria and Apulia.

Divide into Regions:

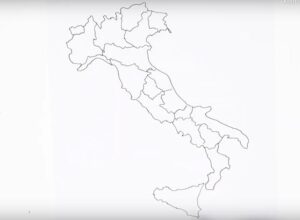
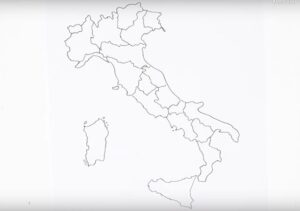
Italy is divided into 20 administrative regions. While you don’t have to include all the regions, you can outline the major ones such as Lombardy, Veneto, Tuscany, and Sicily. You can also add regions like Sardinia, Campania, and Lazio.

Add Islands:

Italy includes several islands, with Sicily and Sardinia being the largest. Draw Sicily to the south and Sardinia to the west, with smaller islands like Capri and Elba if desired.

Outline Major Cities:

Mark major cities such as Rome, Milan, Naples, Florence, and Venice. You can use dots or small circles to represent these cities and label them accordingly.

Draw Borders:

Add borders with neighboring countries and bodies of water. Italy shares borders with countries like France, Switzerland, Austria, and Slovenia. The Adriatic Sea lies to the east, while the Tyrrhenian Sea and Ligurian Sea border the west coast.

Add Water Bodies:

Sketch the surrounding seas, including the Adriatic Sea, Ionian Sea, Tyrrhenian Sea, and Ligurian Sea. Don’t forget to include major lakes like Lake Garda and Lake Como in the northern regions.

Include Mountain Ranges:

Draw the prominent mountain ranges such as the Alps in the north and the Apennines running down the length of the Italian peninsula. These mountain ranges greatly influence Italy’s geography.

Label and Color (Optional):

Label the different regions of Italy, major cities, islands, and other features if desired. You can use colored pencils or markers to add color to the map, such as blue for water bodies and green for land.

Finalize and Detail:

Review your map, add any necessary details or corrections, and finalize the lines and labels.

Finishing Touches:

Once you’re satisfied with the map, go over the outlines with a darker pencil or pen to make them stand out, and erase any unnecessary lines.

You can see more map drawings:

No Responses

  1. Pingback: How to draw Canada (map) Step by Step February 26, 2024

Add Comment