How to draw Egypt (map) with this how-to video and step by step drawing instructions. Easy map drawing tutorial for beginners and all.
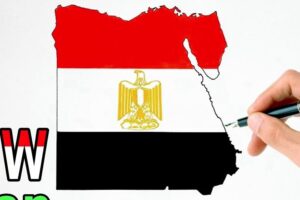
Please see Egypt drawing tutorial in the video below
You can refer to Egypt simple step by step drawing guide below
Step 1. Draw the Western Border

The western border of Egyptian territory is a straight line adjacent to Libya.
Step 2. South
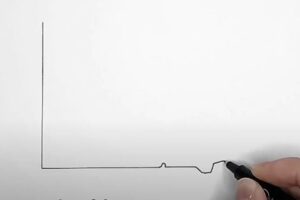
Next, the south is adjacent to Sudan, with a border that is almost a straight line, very easy to draw, right?
Step 3. East of Egypt
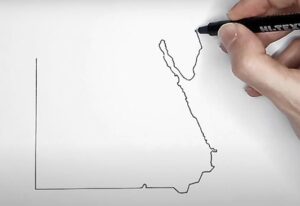
Next to the east of Egypt is the Red Sea and above it is a fairly narrow strip of land adjacent to Jordan as shown.
Step 4. The North borders the sea
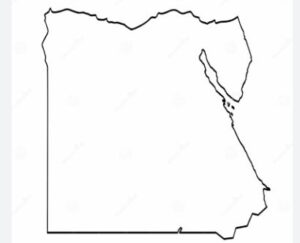
To the north is a slightly wavy line as shown, the part of the Egyptian mainland bordering the Mediterranean Sea.
Step 5. add details and color

Finally, to make your map stand out and easily recognizable, print the image of the Egyptian flag on the map by dividing the map into 3 equal parts, with a stripe in the middle drawing a symbolic eagle. And color the map with the 3 colors of the flag stripes including red in the top stripe, white in the middle stripe and finally black for the last stripe, eagle with yellow.


