Learn How to draw mushroom step by step for kids with this how-to video and step-by-step drawing instructions.
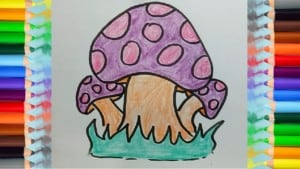
Please see the video tutorial:
You can also refer to the simple drawing instructions below with a pencil
Step 1
First draw three flat ovals, later become mushroom caps.
Step 2
Now sketch the shape of the tree.
Step 3
Add the top of the hat. Add details to the body. Draw the rings on the lower part of the body.
Step 4
Draw the dots on the mushroom caps and start drawing the caps. Draw them using the lines emanating from the center to the edges. Sketch the middle part of the tree.
Step 5
In this step add more bearing. Make the lines as close as possible to each other. Delete all unnecessary lines and add some grass. Our mushrooms were almost ready.
Step 6
At this step add shadow. First draw the hat. Then, hatch the lower part of the hat and one side of the branch. Draw ready.
Step 7
Fill the mushroom with many colors that you like.
That’s the guide how to draw mushrooms step by step. We hope you enjoyed this tutorial. Come to our site more often and wait for new drawing tutorials.
