How to draw a Phone charger with this how-to video and step-by-step drawing instructions. Easy drawing tutorial for beginners and all.
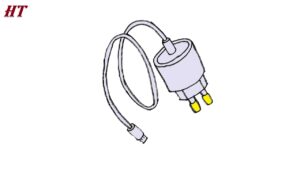
Please see Phone charger drawing tutorial in the video below
You can refer to Phone charger simple step-by-step drawing guide below
Step 1. Draw the head of the charger
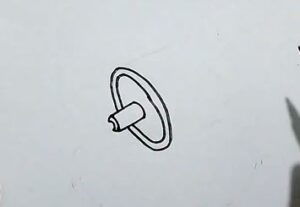
First, draw a small cylinder as the connection point for the charging cord and charger. Next draw an oval for the tip of the charger, adding a smaller oval inside.
Step 2. Complete the charger
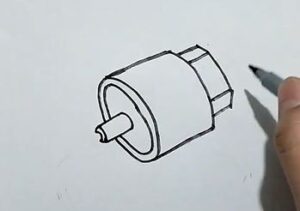
Next, draw a U shape connected to the top of the charger, followed by the charging base, which is a continuing U shape but smaller, adding two edges on the charging base.
Step 3. Plug
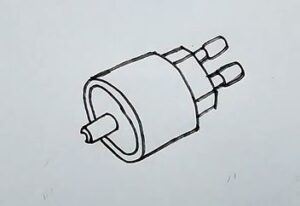
On the charging base, draw two plugs with larger plugs to ensure good electrical contact when charging.
Step 4. Draw the charging wire
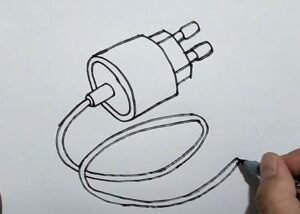
From the charger part, draw two long curved lines for the charging cord, note that the distance between the two curves must be even.
Step 5. Add jack
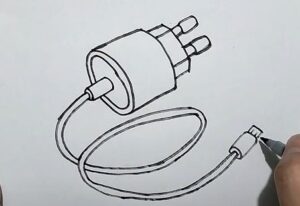
Finally, at the end of the charging cord, draw two small rectangles for the jack, and add two small lines on the jack to ensure good contact for the charging devices.
Step 6. Finishing and coloring

Check your drawing, correct any imperfections, and color your phone charger.


Wow, this tutorial on how to draw a phone charger step by step is absolutely fantastic! The clear and concise instructions make it easy for even a beginner like me to follow along. The detailed illustrations are incredibly helpful, and I love how the artist breaks down each step, making the whole process enjoyable and stress-free. This tutorial has significantly improved my drawing skills, and I can’t wait to explore more of the artist’s content. Highly recommended for anyone looking to enhance their drawing abilities!