How To Draw Daisy Duck easy with this how-to video and step-by-step drawing instructions. Cartoon drawings for beginners and kids.
Please see the drawing tutorial in the video below
You can refer to the simple step-by-step drawing guide below
Step 1
Okay, let’s start this first step by drawing a circle for her head and then adding guide lines on the face. Next, draw the shape of her upper body as shown to you here including the shape of the short sleeves. If you look really close, her upper part is like
Step 2
You will then begin this step by drawing out the first steps of the bow. Now draw two big circles for her eyes, then add her eyelids and one eyelid. The next thing you’ll do is draw the liners for her duck bill. Then start shaping her arms and then build up her fluffy tail. You’ll eventually outline the shape of her legs before you go.
Step 3
In this step, you finish drawing the bow shape and then add the remaining eyelids. Next, complete the shape of her bill and then draw a curved line for her shirt collar. Put an arc on her back and then tuck some fur down her sleeve. Swipe up on the lower body or where the feathers stop and the legs begin. Then you will shape the shoes
Step 4
In this final drawing step, you will detail the bow with crinkled lines and then color in the pupil of her eye. Next thicken her collar and then add some ruching at the bottom of her shirt. You will erase all the principles and shapes that you drew in step one to clean up your drawing.
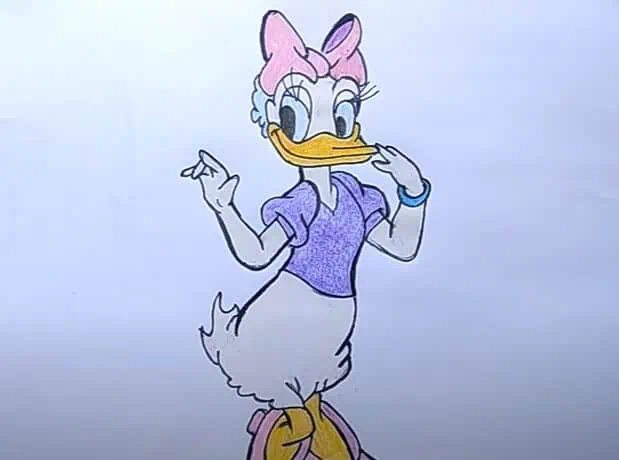
Step 5
This is your finished drawing of Daisy Duck. All you have to do now is color this beautiful girl. It’s time for me to go, but don’t worry, I’ll be back soon. I have something special for all of you when I return. Also, you did a great job with this step by step how to draw Daisy Duck tutorial.


