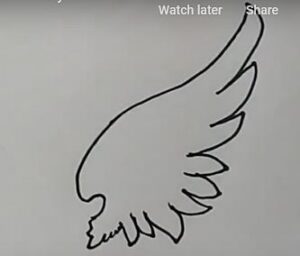
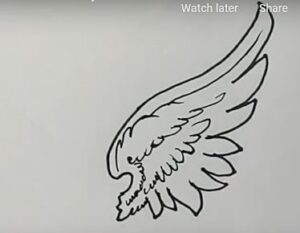
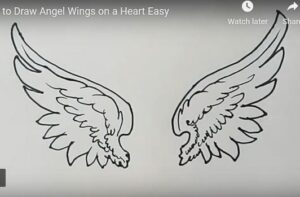
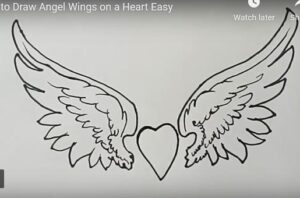
How to Draw Angel Wings on a Heart easy with this how-to video and step-by-step drawing instructions. Easy drawing tutorial for beginners and kids.
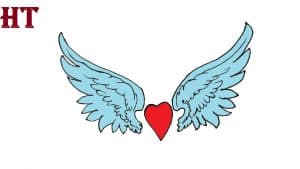
Please see the drawing tutorial in the video below
You can refer to the simple step-by-step drawing guide below
Step 1
Start by drawing a long, loosely curved diagonal line.
Step 2
Draw a mirror image of the first line on the opposite side of the page. These lines form the top edge of each wing.
Step 3
From the top of each line, draw a curve, diagonally downward. At the end of this line, draw another curve, like a “U” on its side. Draw a sideways “U”-shaped line at the end of the following line. These lines form the flying feathers of the wings. Repeat this process to form a mirror image on the opposite side.
Step 4
Draw more flying feathers below the already drawn ones. Connect a series of curves, a “U”, sloping toward the end of the origin.
Step 5
Repeat this process on the opposite side to form a mirror image.
Step 6
From the bottom edge of the original line, connect a “U” shaped line, circling the inside of the wing. Connect a “U” shaped line to the nearest feathers using a series of small, connected “U”-shaped lines. These lines form smaller feathers at the base of the wing.
Step 7
Repeat this process to form a mirror image on the opposite wing.
Step 8
On the top of the wings, draw a series of curves, linked together, thus adding the texture of the feather. Extend the final curve to the top of the top flying feather. Repeat on the opposite side to form a mirror image.
Step 9
In the center of the wing, draw a series of short, connected curves and “U”-shaped lines, so add additional feather texture to the wing.
Step 10
Repeat on the opposite side to form a mirror image.
Step 11
Draw a series of short, connected “U”-shaped lines that curl from the fur texture to the lower inner part of each wing. This shows the texture of the small feathers at the base of the wings.
Step 12
Draw a series of connected “U” shaped lines that extend from the lower part of the wing to the feather texture of the middle part. Allows “U”-shaped lines to grow in larger sizes as they reach the middle part of the wing.
Step 13
Repeat this process to add more feathers to the opposite wing.
Step 14
Draw a series of connected “U”-shaped lines, extending from the center of the wing. Allow these “U” shapes to be a little sharper and detail the feathers with one or two short curves extending from the base of each shape.
Step 15
Repeat to add more feathers to the opposite wing.
Step 16
Detail the flying feathers using short, curves at the base and bottom edge of each one.
Step 17
Extend a curve from the top of the wing and the bottom of the concave edge. In this space, draw short, curves to denote the presence of feathers.
How to draw angel wings: Step 18
Repeat to form a mirror image on the opposite side.
Step 19
Use wavy lines around the inside of each wing. Above the wings, draw an oval in an oval shape, forming a halo.
Step 20
Finally draw the heart shape below between the angel wings. Color the angel wings and heart.