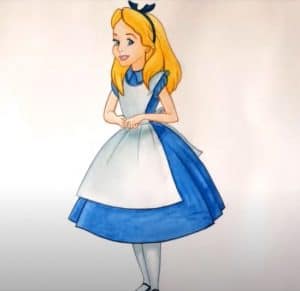
How to Draw Alice in Wonderland easy with this how-to video and step-by-step drawing instructions. How to draw cartoons for beginners and kids.

Please see the drawing tutorial in the video below
You can refer to the simple step-by-step drawing guide below
Step 1
Start by sketching Alice’s face. Use curves to outline the brow, cheeks and chin, the hairline, the hair above the ears, and the earlobes.
Step 2
Use the curves to outline Alice’s neck. Then use additional curves to outline her bouncy hair and the ribbon around it. Hair texture with complementary curves. Place two irregular shapes on top to form a hair bow and detail the bow with curves.
Step 3
Use curves to outline Alice’s clothes. Paste the rounded triangles to form the collar. Use a “U” shaped line for the neck of the apron and some curves for the apron itself. Don’t forget to keep her hair between her shoulders and cheeks.
Step 4
Use the curves to draw Alice’s puffy sleeves and arms. Note the curves indicating sleeve material overlap. Delete as needed.
Step 5
Draw Alice’s other arm. Use a curve to surround the sleeve, pairs of lines for the arms, and narrow “U” lines for the fingers.
Step 6
Draw Alice’s eyes. Use curved lines to contour the eyes, gently at the corners. Draw several consecutive smaller circles in each eye and draw short curves at the top to denote the eyelashes. Use curves to surround pointed eyebrows. Sketch Alice’s nose and mouth using curves.
Step 7
Outline of Alice’s skirt. Use long curves to outline the apron first. Then, use the overlapping lines to draw the pleated skirt. Fabric texture with curves. Use additional curves to draw the bow tie on the back of the dress and the wide ribbon that hangs down.
Step 8
Draw Alice’s feet and feet. Use a long curve and double it back to itself. Note the dents that form the heels. Then use additional curves to outline the shoe itself.
Step 9
Color Alice. Classic Disney characters often wear a blue dress and hair bow with white apron and socks.


