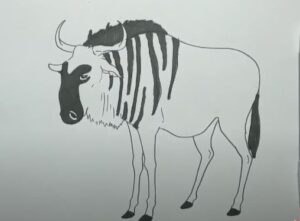
How to Draw a Wildebeest with this how-to video and step by step drawing instructions. Expect 8 easy steps to follow, Beginners and children will enjoy creating their own wildebeest on paper. Also included is a printable version of this wildebeest drawing lesson.
Please see Wildebeest drawing tutorial in the video below
You can refer to Wildebeest simple step by step drawing guide below
Step 1. Draw the Face
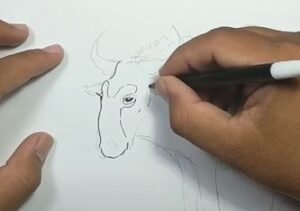
First, draw a long face for the wildebeest’s face. Make a downward curve to outline the wildebeest’s head. Draw two shaded ovals for the eyes. Then, draw a curved line upward to form its mouth.
Step 2. Draw the ears and horns
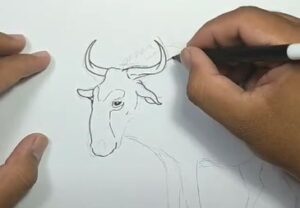
Next, sketch the pointed shape of the wildebeest’s ears on both sides of the head. Next, draw a wavy horizontal line across its ear. Form the pointed shape of the wildebeest horn attached to the top of its head.
Step 3. Sketch the back
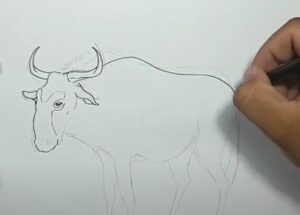
Sketch the curved shape of the wildebeest’s back.
Step 4. Draw the mane below the neck
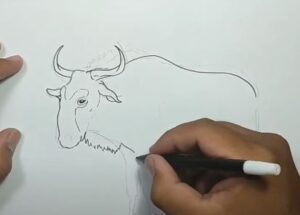
In the lower part of the chin and neck draw the mane in a wavy pointed shape.
Step 5. Shape the legs
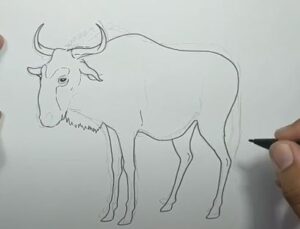
Form the elongated shape of the wildebeest’s legs. Next, draw the hooves by creating horizontal lines near the end of each leg.
Step 6. Add tail
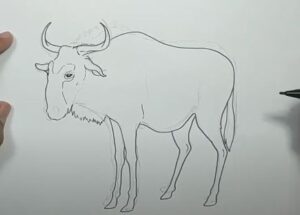
Add the long wavy shape of the wildebeest’s tail attached to its body.
Step 7. Add details for finishing touches
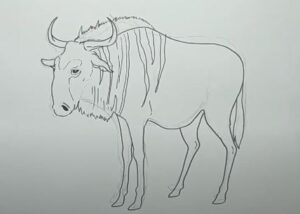
Add the wavy pointed shape of the wildebeest’s mane on top of the head, add the nostrils and some striped details on the wildebeest’s shoulders.
Step 8. Complete the drawing of the wildebeest

Let’s complete our wildebeest drawing by adding a little color! Here we used black and white to highlight the wildebeest. Alternatively, you can color it as follows: First, use a dark brown pencil to color its mane, hooves and tail. Next, color in the horns, nose, mouth, and inside of the ears with cream crayons. Now, use a brown pen to color in the pattern on the face and add some vertical lines on the body. Then, color in the rest of the wildebeest using an orange-brown pen.
