How to Draw a Dilophosaurus with this how-to video and step by step drawing instructions. This easy dilophosaurus instruction guide is perfect for children looking to get started with drawing.
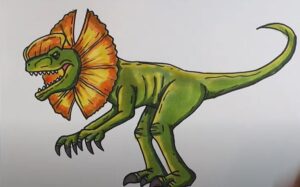
Please see Dilophosaurus drawing tutorial in the video below
You can refer to Dilophosaurus simple step by step drawing guide below
Step 1. Sketch the head
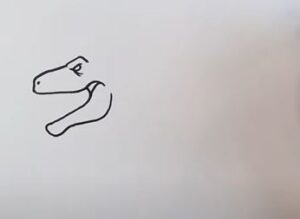
Sketch the head shape of the dilophosaurus similar to the illustration. Create the mouth by making a V shape. Draw its eyes by making a small circle.
Step 2. Add teeth
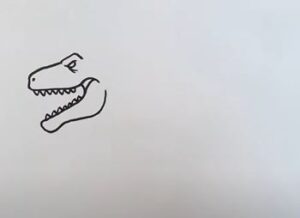
Add the dinosaur’s teeth by drawing zigzag lines inside its mouth.
Step 3. Add crest
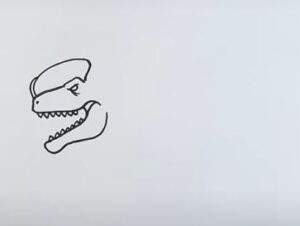
From the nose draw a curved line as shown to the upper part of the eye to form the crest.
Step 4. Create a ruched neckline
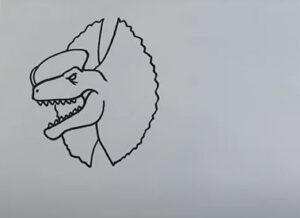
Create the dilophosaurus’ neck frills by drawing wavy shapes around its head as shown.
Step 5. Sketch the back and tail
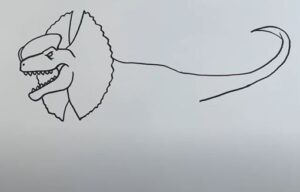
Draw a curved line into the dinosaur’s back. Continue to lengthen into a long pointed tail attached to the end of the body.
Step 6. Add legs
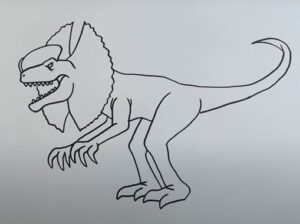
The dinosaur’s front legs are short and the chest has claws. The dinosaur’s two strong hind legs were attached to its lower body. Emphasize its sharp claws similar to the illustration.
Step 7. Add details
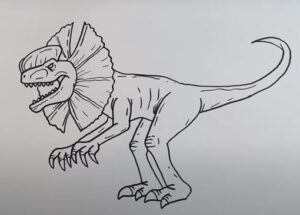
Finally, add some details to make the Dilophosaurus drawing look more realistic, creating wrinkles on the body, head and patterns on the crest and collar line.
Step 8. Complete the Dilophosaurus drawing

Now let’s add some color to our dilophosaurus drawing! First, use a white pen to fill in the teeth. Next, use a black pencil to fill in the claws. Now, paint the crest and neckline with a dark orange pen. Finally, color in the rest of the dilophosaurus with a green pen.
