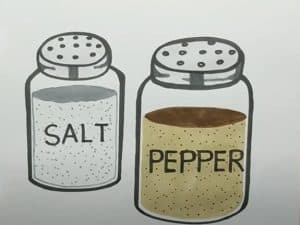
How to Draw a Salt Shaker easy with this how-to video and step-by-step drawing instructions. Easy drawing tutorial for beginners and kids.

Please see the drawing tutorial in the video below
You can refer to the simple step-by-step drawing guide below
Step 1
So the lesson about the salt shaker will be very simple, and the first step will be the simplest. Here we simply outline the outer contours of the salt shaker in a normal rectangle.
Step 2
Let’s add the most basic details to the surface of our salt shaker. In the upper part, outline the contours of the lid. Next, draw the outline of the neck of the salt shaker.
Step 3
Now, take the eraser and carefully erase all unnecessary rules from the salt shaker drawing. Carefully draw the outline of the lid and the jar itself.
Step 4
On the top of the cap draw a few holes. Next, using an expander, add some shadows and highlights on the surface of the salt shaker.
As we said, the lesson on how to draw a salt shake is very simple. But perhaps, visiting our website, you’re looking for a more difficult lesson. Of course, we have such lessons, so visit other categories from our website to learn how to draw people, animals, and more.


