How to Draw a Peach Easy with this how-to video and step-by-step drawing instructions. Fruit drawings for beginners and kids.
Please see the drawing tutorial in the video below
You can refer to the simple step-by-step drawing guide below
Step 1. Draw the Stem

Draw the stem first. Use three curves to form a narrow, curved rectangle.
Step 2. Draw the Leaves

Draw a leaf protruding from the peach stem. Use two curves that meet at a point. Draw another, larger leaf protruding from the opposite side of the stem. Use two curves that meet at a point.
Step 3. Draw the Fruit

Draw a large circle for the fruit. Be sure to extend the two curves from the bottom of the circle, allowing them to meet at a gentle point.
Step 4. Draw the Peach Cheek

Extend a curve that almost cuts across the bottom of the peach. This bulge is called the cheek, and the depression represented by this line is the suture line.
Step 5. Detail the Leaf Veins

Detail the leaf with the leaf vein. Draw a curve down the middle of the leaf. Then, draw shorter curves that originate from the central vein. Draw the veins of the second leaf. Use a long curve for the central vein and shorter curves for the secondary veins.
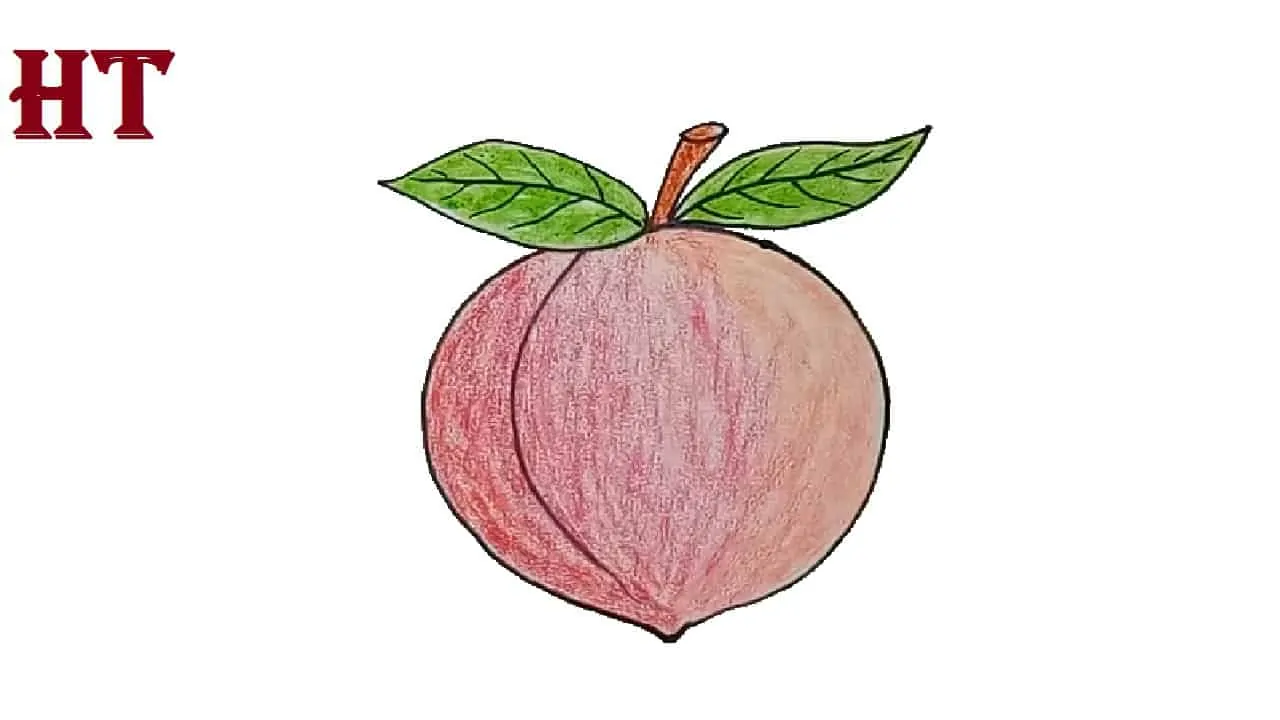
Step 6. Finishing and coloring
Color the peach. This fruit can be the same color as its name, or it can have shades of yellow, orange, pink, or red.
You can see more fruits drawing:
How to draw orange easy step by step | Fruits drawing and coloring
How to draw a watermelon step by step – Fruits drawing and coloring
How to draw a Strawberry cute and easy step by step – Fruits drawing and coloring


