How to Draw a Minecraft Villager with this how-to video and step-by-step drawing instructions. This lesson will take you through a series of steps focusing on using simple shapes and lines to build your video game character. You can spend about 10 minutes on this drawing, so take your time and enjoy the process.
Please see the drawing tutorial in the video below
Minecraft Villager Drawing step by step
Step 1. Draw the Head
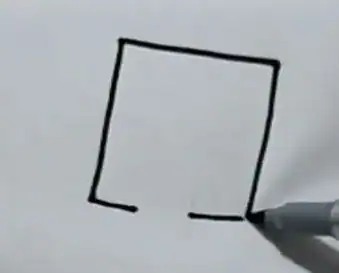
Start by drawing a tilted rectangle to form the blocky head of the Minecraft villager. You can leave some space at the bottom for the long nose in the next step if you don’t use a pencil like me :).
Step 2. Add the Eyes, Eyebrows, Nose, and Mouth
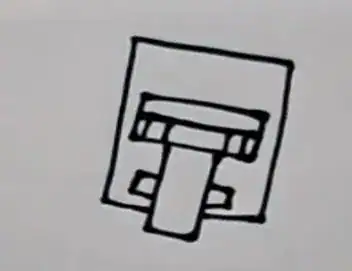
Draw a long rectangle outline for the eyebrows. Then, add a pair of blocky eyes.
Add a vertical rectangular nose below the eyes. Make sure to erase any overlapping lines.
Draw a thin rectangle to form the mouth of the villager.
Step 3. Shape the Arms
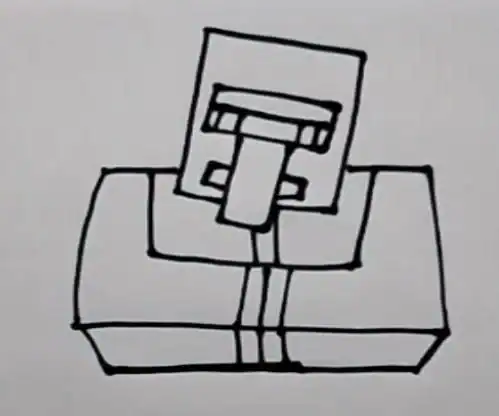
Draw the shoulders and chest and shape the blocky arms of the villager to touch each other, as shown.
Step 4. Sketch the Cloak
Draw a long rectangle below the head to outline the villager’s cloak.
Draw a vertical line down the middle of the cloak to add lining.
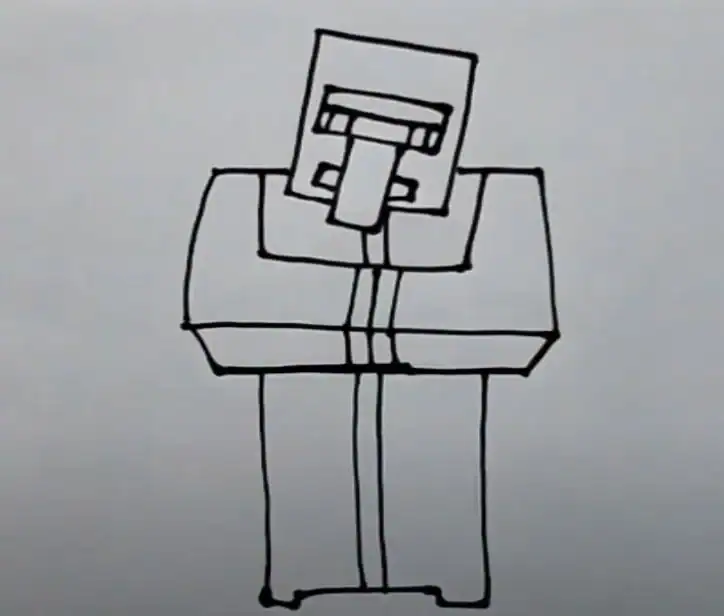
Step 5. Draw the Legs
Add a pair of rectangular legs. Then, sketch out the shoes near the feet.
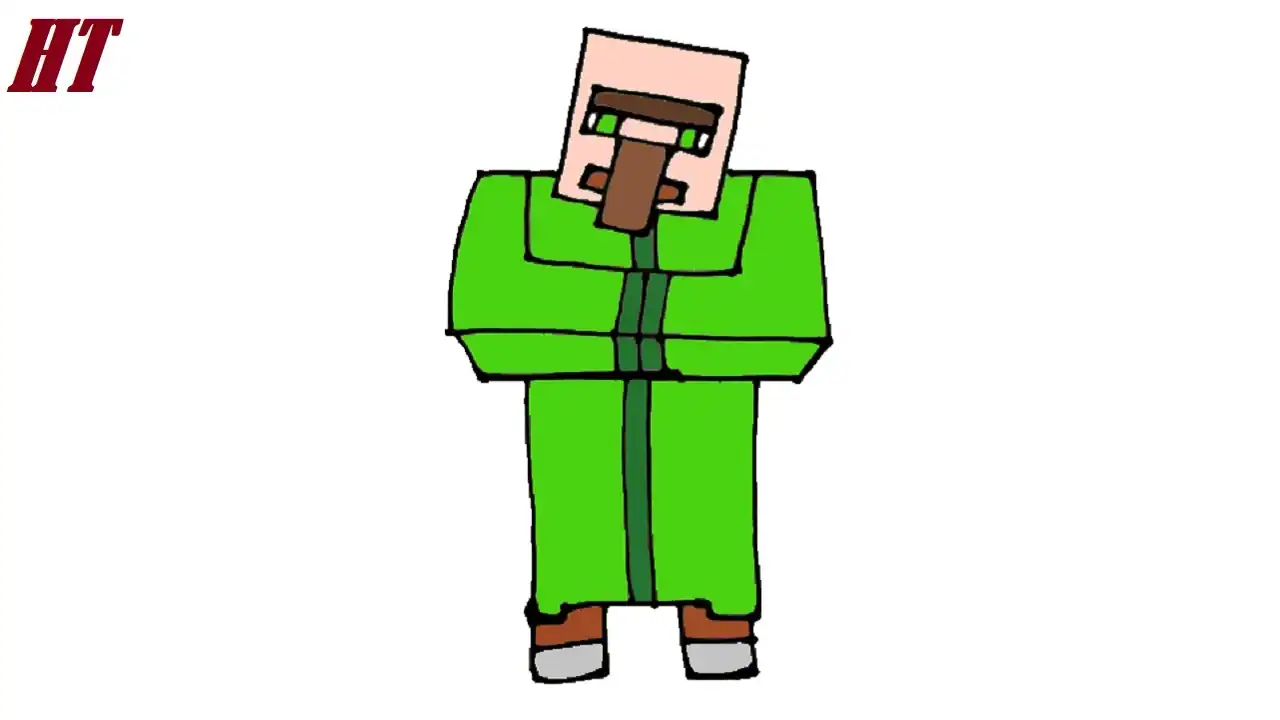
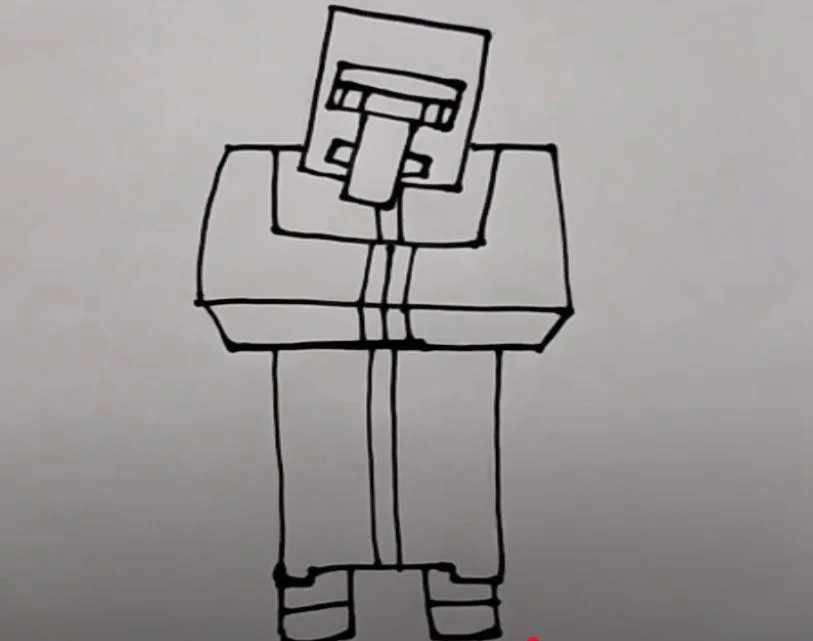
Step 6. Color the Minecraft Villager
First, use peach for the skin and brown for the nose. Next, color the eyebrows and pants in dark brown. Next, color the mouth red. Then, use white and green for the eyes. Color the shoes in light gray. Color the cloak in light green. Finally, use a darker green for the cuffs and lining of the cloak.


That’s great! This is my favorite cartoon character 🙂 Congratulations! I wish you continued success.