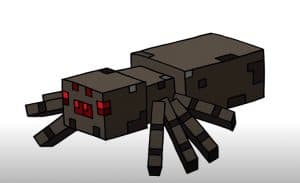
How To Draw A Minecraft Spider easy with this how-to video and step-by-step drawing instructions. Easy drawing tutorial for beginners and kids.
Please see the drawing tutorial in the video below
You can refer to the simple step-by-step drawing guide below
Step 1
The first step is to create such a flat square. This will be the beginning of the spider’s head.
Step 2
Here you will draw two more boxes. As you can see the back is bigger than the back in the middle. These squares will form the body.
Step 3
Start squaring the head by drawing one more box. You will continue to do this until blocks are formed.
Step 4
Close the top and middle like that. When you’re done, you can draw leg-like branches that are still attached to each other at the base where the limbs are attached to the body.
Step 5
Draw one more turn for a total of four. When that’s done, you’ll define the pins so they look bidirectional. Draw or finish the back of the spider’s body, then move on to step six.
Step 6
Draw the remaining legs on the opposite side of the spider’s body, then draw a total of seven round eyes, followed by the fangs. Erase your mistakes and you are done with this spider.
Step 7
Here’s what the spider looks like when you’re done. Now you can color it and add this drawing to your Minecraft sketchbook.
