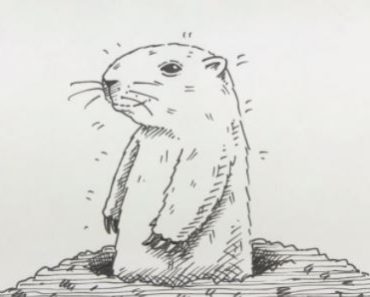
How to Draw a Meerkat Easy with this how-to video and step-by-step drawing instructions. How to draw animals for beginners and kids.

Please see the drawing tutorial in the video below
You can refer to the simple step-by-step drawing guide below
Step 1
We’ll start with the head. Draw a circle in the center of your paper!
Step 2
In the center of the circle, add eyes to the head by drawing in two equally spaced circles.
Step 3
Just below the eye in the center of the head, add another small circle with two small curved lines at the bottom for the nose and mouth.
Step 4
Now, on each side of the head, add two small domes for the ears.
Step 5
Starting from the chin tilted to the left, draw a vertical line in the downward position. Repeat this step by creating another parallel line, but this time, curve it into a horizontal line at the bottom. Add another horizontal line parallel to this line and connect the two at the end.
Step 6
Now, in addition to the rightmost line, add small triangles down the back of the meerkat to create spikes.
Step 7
It’s time for arms! To the left of the meerkat’s body, draw a set of parallel lines connecting the bottom with your hand. Move to the right slightly and repeat the previous step to create the other arm.
Step 8
Now, below the arms, add two arches facing left. On the legs of both, add two almond shapes for the feet!
