How to draw a Heron easy with this how-to video and step-by-step drawing instructions. Bird drawing for beginners and everyone.
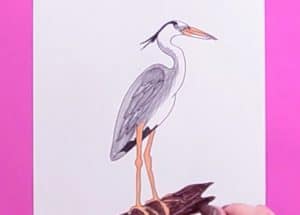
Please see the drawing tutorial in the video below
You can refer to the simple step-by-step drawing guide below
Step 1
To start, draw a curved shape for the top of the head with a protrusion for the beak.
Step 2
Now add a line for the mouth and a small dot for the eyes. Color the dot to make it black.
Step 3
Next, draw two ‘S’ shapes for the rather long neck. In fact, the Great Blue Heron swallows their food whole and will choke if they’re not careful!
Step 4
For the body, draw two curved lines away from each other and leave some space at the bottom for the legs. The top line should have a bump at the tip to give the shape of the wing.
Step 5
Now to draw the legs, create two long lines extending at the bottom to make the feet.
Step 6
Add the second leg after the first and make sure the toes are long!
Step 7
For the tail, draw a rounded cone with a slight bump just behind the hind legs.
Step 8
Now for the wings, draw another round cone, but make small bumps on the underside for feathers.
Step 9
Use straight lines to add feather patterns on the wings, torso, and a few on the head. You can use dark green for herons and yellow for beaks.
