How to Draw a Fortune Cookie with this how-to video and step by step drawing instructions. With 6 easy steps to follow, Beginners and kids will enjoy creating their own fortune cookie on paper. Also included is a printable version of this fortune cookie drawing lesson.
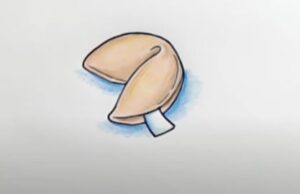
Please see the drawing tutorial in the video below
You can refer to the simple step by step drawing guide below
Step 1. Draw the first cookie
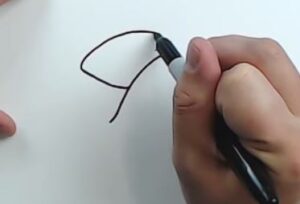
Start your drawing with a half circle on the right side of your paper. Leave a little space at the top.
Step 2. Complete the first Cookie

Draw another half-circle attached to the first, similar to the illustration here.
Step 3. Draw the second cookie

Now, draw a shape similar to an inverted triangle with rounded corners.
Step 4. Complete the second Cookie

Finish drawing the back of the second fortune cookie similar to the one shown here.
Step 5. Add message

Complete your line art with a long rectangle on the left side of the first fortune cookie. We’ll erase the lines that go through this shape. Now add some words of wisdom to the paper you have drawn.
Step 6. Complete your drawing

Grab your crayons and color your fortune cookie.
