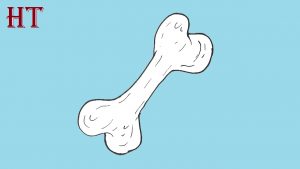
How to draw A Dog Bone easy with this how-to video and step-by-step drawing instructions. Dog drawing for beginners and everyone.

Please see the drawing tutorial in the video below
You can refer to the simple step-by-step drawing guide below
Step 1
Start by drawing a diagonal curve. This section outlines one side of the bone, called the shaft.
Step 2
Draw a second curved line along the first. Thus, the axis of the bone is completely outlined.
Step 3
Draw a “C” shaped line that overlaps the top of the shaft. This begins to form the end of the bone, called the epiphysis.
Step 4
Draw another curved line, overlapping the front of the end of the bone but not completely enclosing it.
Step 5
Draw another curve, overlapping the top of the shaft and completely enclosing the epiphysis.
Step 6
Draw a curved line extending from and overlapping the opposite end of the shaft, forming a convex at the opposite end of the bone.
Step 7
Draw another curved line, continuing one lobe of the bone head.
Step 8
Draw a “C” shaped line from the lobe to the shaft, completely enclosing the bone.
Step 9
Draw curves parallel to the bone’s axis and epiphysis. Draw small circles at the top of the epiphyte. These lines and circles create bone textures and three-dimensional shapes.
Step 10
Your bone color. Cartoon dog bones are usually white as if bleached by the sun. Fossil bones can be brown, tan, or even black, depending on the condition of the fossil.


