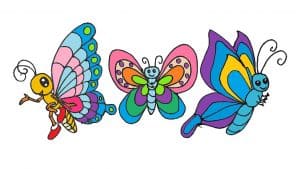
How to draw a cartoon butterfly step by step with this how-to video and step-by-step drawing instructions. Easy animals to draw so cute for children and everyone.

Please see the drawing tutorial in the video below
You can refer to the simple step-by-step drawing guide below
Step 1
First draw the body. There are two long thin oval segments. The top segment is shorter than the bottom segment.
Step 2
Now draw the left wing. The top part of the wing is triangular. It attaches to the top segment. The bottom of the wing is square and attaches to the bottom segment.
Step 3
Draw exactly the same wings on the right side.
Step 4
Add some oval patterns at the top of the left wing.
Step 5
Continue adding oval and smaller circle patterns at the top of the left wing.
Step 6
Now draw some oval patterns on the lower part of the wings. These lines start at the top corner of the bottom wing.
Step 7
Continue adding smaller circular patterns on the lower outer part of the wings.
Step 8
Draw oval patterns at the top of the right wing. Try to make these patterns a reflection of the patterns you drew on the left wing.
Step 9
Continue adding smaller circular patterns on the upper right part of the right wing.
Step 10
Draw some oval patterns at the bottom of the right wing. Do your best to make them the correct reflection of the pattern on the left wing.
Step 11
Continue drawing smaller circle patterns on the lower outer part of the right wing.
Step 12
Draw two curves to create the antenna from the top segment of the body.
Step 13
Finally perfect the cartoon butterfly by drawing its legs, you can add small shoes to make it cute.
Step 14
You can paint your favorite colors for the butterfly.


