How to Draw an Air Conditioner easy with this how-to video and step-by-step drawing instructions. Easy drawin tutorial for beginners and all.
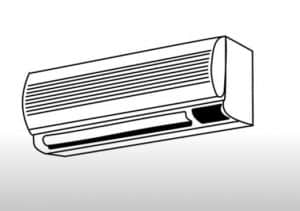
Please see the drawing tutorial in the video below
You can refer to the simple step-by-step drawing guide below
Step 1. Sketch the Basic Shape
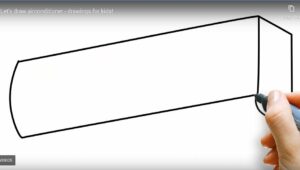
First, to define the shape of the air conditioner, we draw a long horizontal line. Draw one end of the air conditioner with an imperfect rectangle, but don’t worry, that’s the structure of the air conditioner. The front of the air conditioner is rectangular, so from the existing horizontal line and the side that has been drawn, we just need to draw two more lines to form a rectangle.
Step 2. The wind deflector
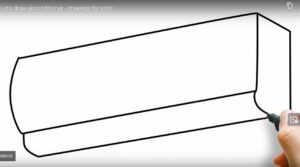
Below the air conditioner mask, continue to draw a parallel line to create the wind deflector for the air conditioner.
Step 3. The bottom of the air conditioner
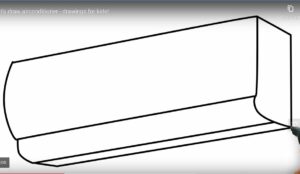
Similarly, draw a straight line below to create the bottom of the air conditioner. So the basic shape of the air conditioner is done.
Step 4. Add details to the front panel
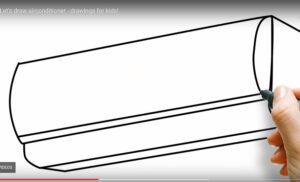
You know that the air conditioner is not square in shape, so we add details to make it look more realistic, on the side corner add a long oval, then add a straight line as shown to define its structure.
Step 5. Add ventilation holes
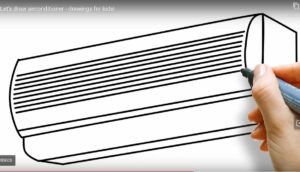
Now, we draw some horizontal lines on the front of the air conditioner. In our model, you can see a lot of carefully trimmed and cared lines. You can draw less lines. However, make sure that the contours are parallel to the contours.
Step 6. Add details of the air deflector and indicator light
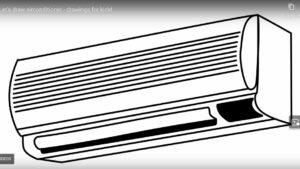
In the air deflector part, draw a long but narrow rectangle, below it is darkened with black to show the depth. Next to it is the indicator light. So it’s done, very simple, right? You can add more colors.
It’s a drawing tutorial on how to draw an air conditioner. The main difficulty of this lesson lies in the large number of straight lines. This is a great exercise for anyone who wants to learn how to draw precise geometries without using a ruler.
