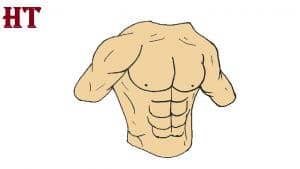
How to draw Six pack body easy with this how-to video and step-by-step drawing instructions. Easy drawing tutorial for beginners and kids.
Please see the drawing tutorial in the video below
Six pack body Drawing Step by Step
Step 1. Draw the Pectoral Muscles
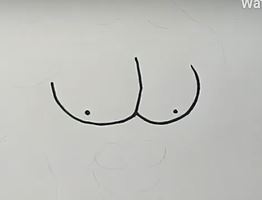
First, for the pectoralis major, simply draw two curved lines connecting them as shown in the reference image. You can then add two small curves near the base of each pectoralis major.
Step 2. Draw the First Shoulder and Arm
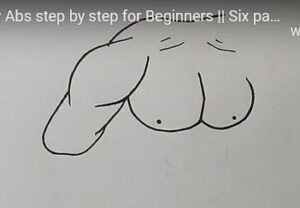
Now, we will draw the muscles in the neck and shoulders, drawing some lines from the base of the neck extending down for the bone structure of the neck. Next, you can draw a circle for the left shoulder. Finally, finish by drawing the left arm coming down from the shoulder.
Step 3. Draw the Right Arm
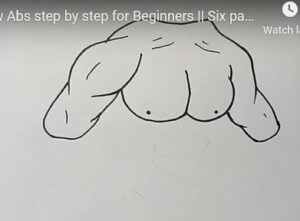
We will add another arm to the drawing in this step of the tutorial on how to draw abs. Like the last arm, you can start with a curve for the right shoulder.
Then, we will draw the muscles of the arm. Use a slightly wavy line to connect the arm to the pectoralis major, as in our example.
Then, use a series of smaller curved lines on the right side of the arm to create the muscle there.
These three lines should be as single as the single line for the left side of the bicep. Finally, draw another wavy line from the bicep down to finish this step.
Step 4 – Now, Start Drawing the Waist
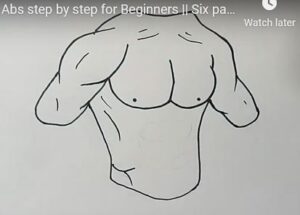
Now we can start finalizing the outline of your abs drawing so we can draw the abs themselves in the next section.
Using a few lines that start outwards and move inwards as they go down, draw the outline of the waist going down from the chest. Then, draw a slightly rounded horizontal line for the top of the pants the person is wearing.
Once you have copied this outline as in the reference image, simply add a few smaller lines that connect together on the right side to form the ribs there.
Then you are ready to move on to the next section of drawing the abs!
Step 5 – Finishing the Abs Drawing
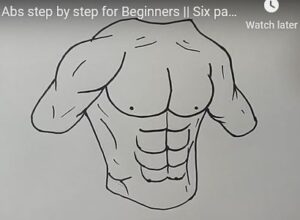
For the fifth step in this tutorial on how to draw abs, we’ll be drawing the abs themselves. Try to think of the abs as eight separate muscles connected together as you draw and follow the reference image. You can then draw some curved and rounded lines that connect to each other to form each of these abs.
Draw two straight lines from the base of the abs, then finish by drawing the belly button.
Then, just add the final details! We’ve added a few more detail lines throughout the drawing, and you can add some of your own as well.
Perhaps you could add a head or more of a body to it!
We look forward to seeing how you finish your abs drawing.
Step 6 – Finishing Your Abs Drawing With Some Color

You’ve reached the final step of your abs drawing, and now you can finish it off with some beautiful color!
In our reference image, we’ve only shown one way you can color your drawing. The best part is that the colors you use are completely up to you!
There are a variety of skin tones you can choose from to personalize this drawing to your liking. You can then choose which art medium you’ll use to achieve your desired color.
Watercolor paints and colored pencils can be great if you want a slightly softer tone to your drawing.
You can see more body drawings:
