How to draw a Duck in Pond with this how-to video and step-by-step drawing instructions. There are 6 easy steps to follow so each and every beginner will enjoy creating their own little pond on paper.
Please see the drawing tutorial in the video below
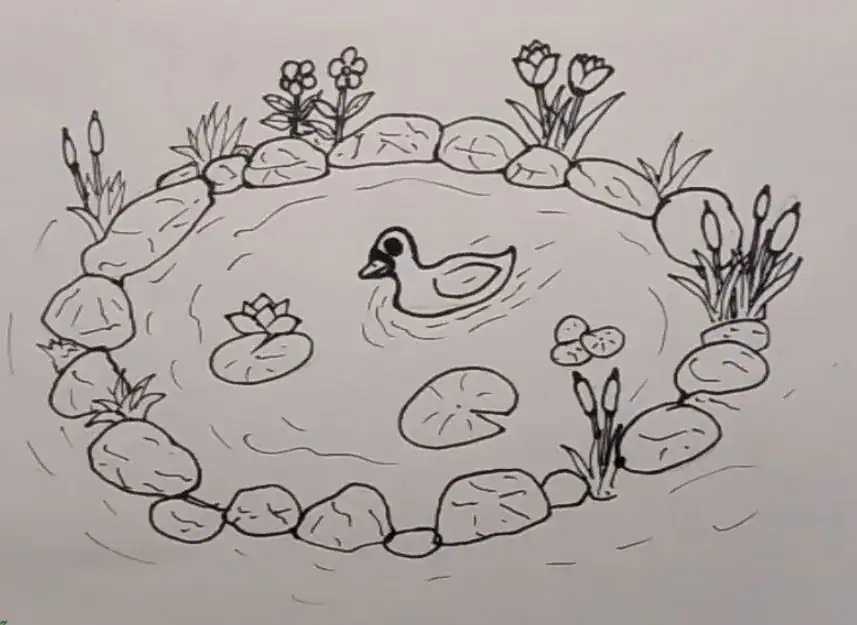
Duck in Pond Drawing step by step
Step 1. Create Rocks Around the Pond
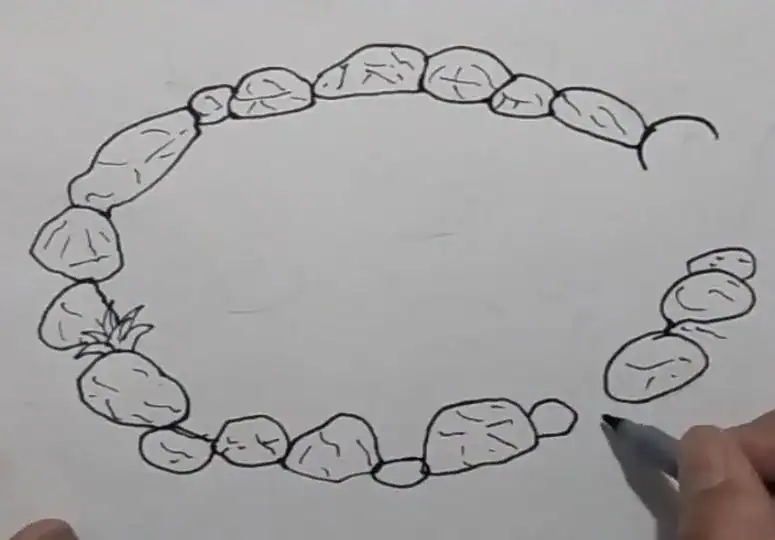
Shape the rocks around the pond by drawing ovals.
Step 2. Draw Grass, Water Hyacinth, and Flowers

Draw grass near the edge of the pond by drawing sharp lines.
Draw some water hyacinths growing around the pond! First, create the flower head by drawing an elongated shape. Then, draw the stem by drawing two straight lines connecting to the bottom of the flower head.
Add flowers around the pond to enhance its beauty.
Step 3. Draw a Duck in the Middle of the Pond
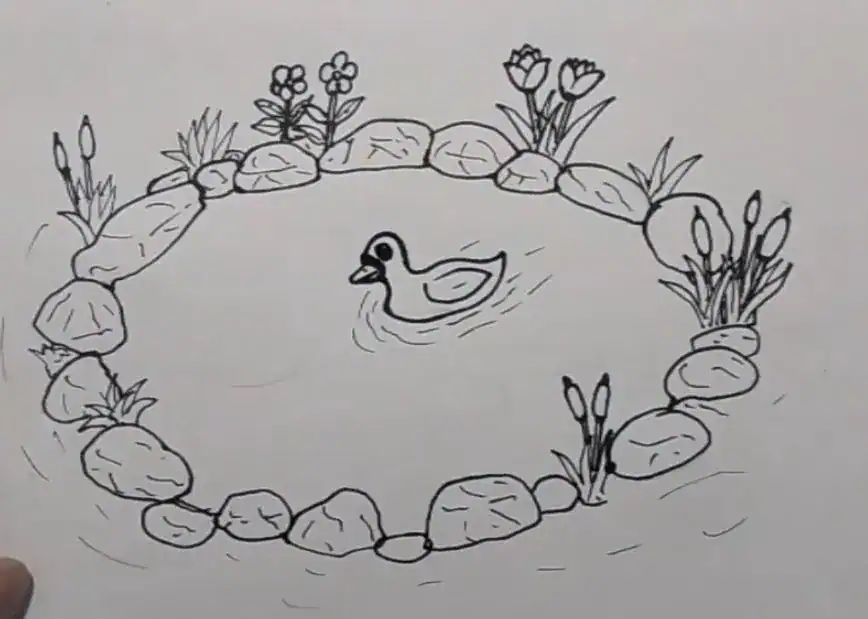
Add a duck swimming in the pond by starting with its beak, outlining its body, then adding its eyes by drawing a circle with shading. Next, draw a smaller circle on the beak to represent the duck’s nostrils, and add wings with oval shapes with slightly pointed tips as illustrated.
Step 4. Add lotus and water lilies to the pond
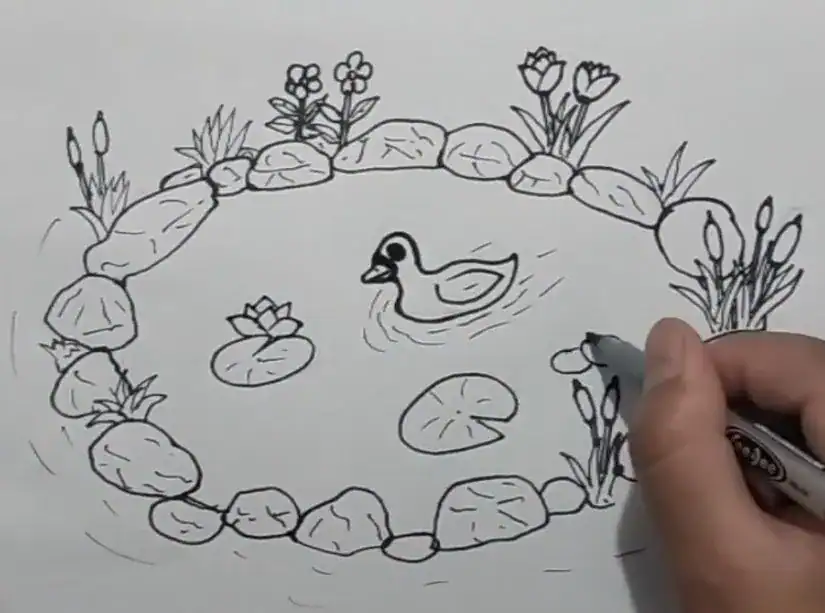
Draw the lotus flowers and their leaves, and add some water lilies inside the pond.
Step 5. Draw waves
Draw waves on the water’s surface by drawing wavy lines near the edge of the pond. Don’t forget to add a few ripples around the duck as well.
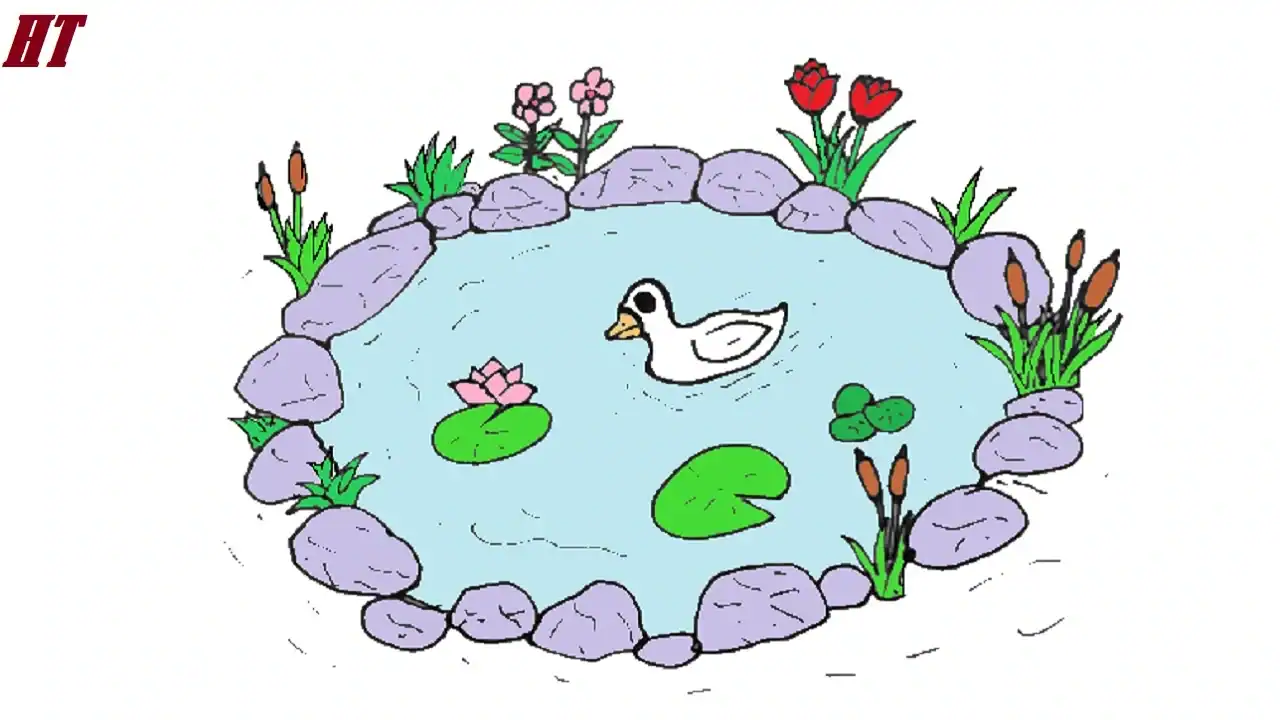
Step 6. Complete the pond and duck drawing
Complete the pond drawing by first coloring the grass with a green colored pencil. Next, color the rocks with a gray colored pencil. Now, shade the flower head of the Bodhi tree with an orange colored pencil and the trunk with a brown colored pencil. Then, color the duck with a yellow colored pencil. Use an orange colored pencil to shade the duck’s beak. Finally, use a blue colored pencil to color the water.
You can see more pond drawings:


