How to Draw a Realistic Eye easy with this how-to video and step-by-step drawing instructions. Easy pencil drawing tutorials for beginners and all.
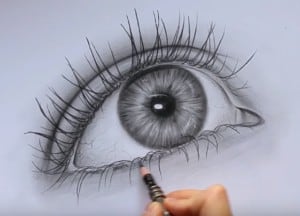
Please see the drawing tutorial in the video below
You can refer to the simple step-by-step drawing guide below
Drawing realistic eyes looks very hard right? Actually not as hard as you think, you try and explore the ability of yourself. Let’s start together:
Step 1
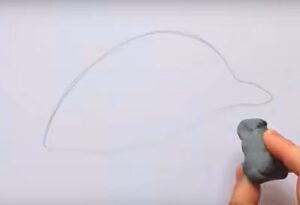
Draw a slightly curved curve. This is the top edge of the eye. Draw another curve below, bending more strongly. This is the bottom edge and the lines must be connected at an angle. This corner is the outer corner of the eye. The lines in the inner corner must be separated in part.
Step 2
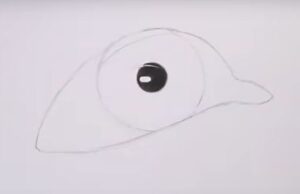
Draw the “circle” of the eye, this consists of the iris (the outer ring) and the pupil (the black in the middle). Mind this detail: the iris isn’t completely shown; it is partially covered by the eyelid, this gives the sense of depth.
Step 3
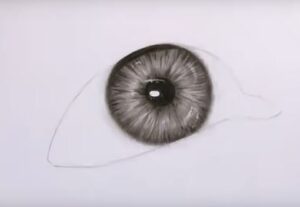
Add two circles – one on the iris and one on the pupil, to achieve the effect of light reflection. These can be close together or as far apart as you want.
Step 4
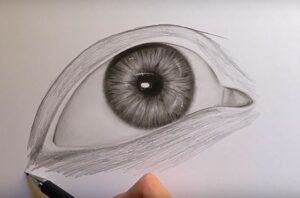
If you want to make your eyes look like it has applied makeup, eyelid color (eye shadow effect), and darken the edges just below the eyelashes (eyeliner effect).
Step 5
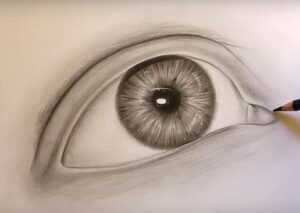
Add another curved curve, this is the top eyelid.
Step 6
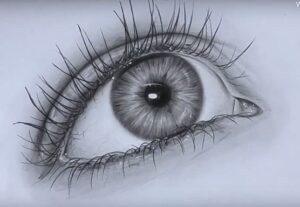
Draw eyelashes. Remember, you have to draw them on the edges of both eyelids, more on the bottom than on the top. Try to keep the same distance between them and make them approximate at the same angle. The top eyelashes are longer than the bottom.
You can see more eye drawings:


Hi i am kavin, its my first time to commenting anyplace, when i read this post i thought i could also make comment due to this good paragraph.
Thanks a lot for sharing this with all people you actually understand what you are
speaking approximately! Bookmarked. Please also consult with my website =).
We will have a link alternate agreement among us
Write more, thats all I have to say. Literally, it seems as though you relied
on the video to make your point. You clearly know what youre talking about, why waste your
intelligence on just posting videos to your weblog when you could be giving
us something enlightening to read?
Good way of describing, and nice post to get data concerning my presentation topic,
which i am going to present in academy.
Hi to every body, it’s my first pay a visit of this
blog; this webpage includes amazing and genuinely fine data for readers.
Yes! Finally something about minecraft.
4.5