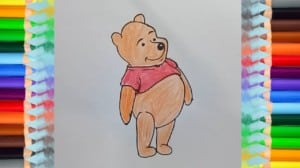
Hi everybody! Today we will show you how to draw your favorite teddy bear around the world – Winnie the Pooh! This charming yellow bear was created by English novelist Alan Milne in 1926. In general, this simple drawing lesson is a step-by-step tutorial and video tutorial. We have broken down into several steps and detailed descriptions of each step. So, start this tutorial and learn how to draw Winnie the Pooh!
How to Draw Winnie the Pooh step by step with this how-to video and step-by-step drawing instructions.

Please see the drawing tutorial in the video below
You can refer to the simple step-by-step drawing guide below
Step 1
In the first step, we need to draw the first sketch. The head shape is very symmetrical.
Step 2
Draw the borders of the body. Straight under the head draw an oval. Body shape is very similar to bean.
Step 3
In this step we draw hands and feet. Draw them in the form of a long and slightly changed oval.
Step 4
Start adding details to Winnie’s silhouette. First draw a line of symmetry on the face. This line will help us find the center of the face and draw all the facial features correctly.
Draw the outline and start painting Winnie’s shirt. Use the wavy line drawing the bottom line of the shirt. Outline collar and sleeves.
Step 5
The facial features are quite simple. First draw a nose. It must be placed in the middle of the face. Slightly above the eye with two dots. Using the curves of the mouth. Draw the eyebrows and move on to the next step.
Step 6
Remove the instructions from the face and darken the lines. Then, delete the instructions from the body and hand. Darken all the lines of the upper part of the body. Add some folds to your shirt and move on to the next step.
Step 7
As in the previous step, remove all unnecessary instructions and darken the lines of the lower part of the body and legs.
Step 8
Color the Winnie the Pooh to make it stand out.
You love cartoon characters and Teddy bear is one of them, please refer to How to draw pink teddy bear on my website.

