How to draw Mickey Mouse step by step easy for kids with this how-to video and step-by-step drawing instructions. Mickey Mouse is a funny animal cartoon character and the mascot of The Walt Disney Company.
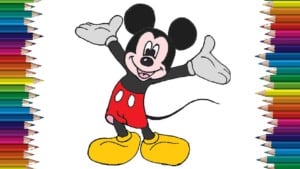
Please see the drawing tutorial in the video below
You can refer to the simple step-by-step drawing guide below
STEP 1
Mark the width and height of the image. Draw two ovals for Mickey’s head and body. Drawing two lines, will act as the center of the body and his head.
STEP 2
The ear is rounded. With two smooth lines, define the shape of the legs and body.
STEP 3
Outline of legs and arms spread out on both sides of Mikey.
STEP 4
Add an oval to a nose. Locate the handcuffs and the boot lock ring.
STEP 5
In general, draw gloves, boots and light sections of the face.
STEP 6
Draw Mickey’s fingers, tails, cuffs, eyes and mouth.
STEP 7
Worked on Mickey Mouse, paying particular attention to detail.
STEP 8
Contour, try to change the thickness and blackness of the line. More details and grass. Remove all guidelines.
STEP 9
Make the color of Mickey Mouse more prominent.
You can refer to How to draw cartoons on my website.
