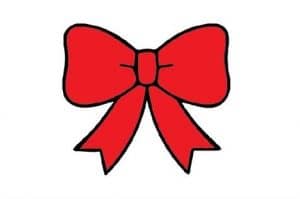
How to draw a bow tie easy with this how-to video and step-by-step drawing instructions. Easy drawing tutorial for beginners and kids.

Please see the drawing tutorial in the video below
You can refer to the simple step-by-step drawing guide below
Step 1 – Draw the center/knot of the bow
Start drawing by sketching the knot in the center of the bow. You can draw each of its faces with a nice smooth curve and give the shape slightly rounded corners.
Step 2 – Draw the first loop
From one side of the knot, draw the first loop of the tie. Make it narrower towards the button and wider as it goes. You can redraw it as a set of curves and quite smooth and give it rounded corners.
Step 3 – Draw the second loop
Same with the first ring, draw a second loop on the other side of the button. The loops don’t have to be perfectly symmetrical, but for a nicer bow, you want them to be similar in shape.
Step 4 – Add some wrinkles/folds & finish the line drawing
To complete the line part of the drawing, first give the bow a few folds/wrinkles. Add these in such a way that they look like they’re coming out of the knot. Try and make them slightly different on each side so they look asymmetrical.
Step 5 – Add Color
To color the bow, you can use any medium you like (paints, markers, crayons, etc.). In this case it will be blue but you can use any other color.
Step 6 – Add Shadows and Complete the Bow Drawing
You may have noticed that the color drawing in the previous step looks a bit plain and flat. You can get around this by creating a very simple shading of the tie like in the example above.
Use a darker blue or even just a regular pencil to darken the areas around the crease/wrinkle. Make the shadow thicker towards the button and thinner near the end of the crease. You can extend the shade just past a little of the wrinkles. You can also create a thin strip of shade for the top and bottom knots.


