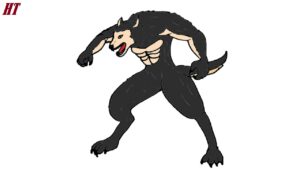
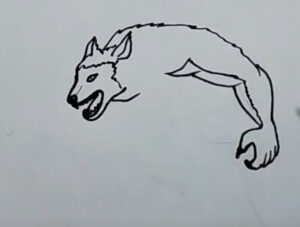
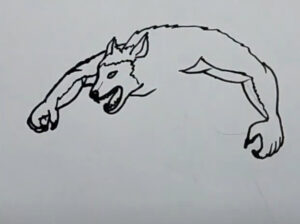
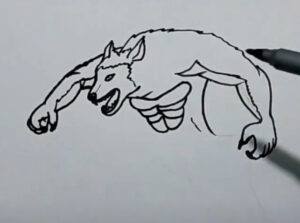
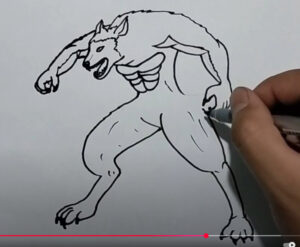
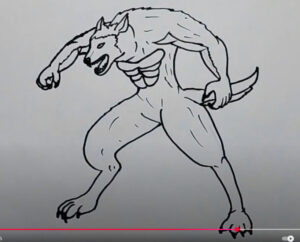
How to Draw a Werewolf easy with this how-to video and step-by-step drawing instructions. Easy drawing tutorial for beginners and kids.
Please see the drawing tutorial in the video below
You can refer to the simple step-by-step drawing guide below
Step 1
At first, draw a stickman – a man, made of lines and circles. Using an oval draw the contours of the head. Use the lines to draw the guides for the spine, hands, and legs. Use light and smooth lines to outline in the first steps. Please note that werewolf proportions are not particularly different from human proportions (in the lesson on how to draw a doctor, for example).
Step 2
In this step, we start adding volume to the werewolf. But first draw lines of symmetry on the face. Draw a vertical line, showing us the center of the face. The longest horizontal line will help us line our eyes. Under the line draw two lines – for the nose and mouth. Use the triangle to outline the ears at the top of the head. Use ovals to outline shoulders and elbows. Use the cylinder to outline the arms. Draw the outline of the hand
Step 3
In this step of the lesson on how to draw a werewolf, we add volume to the legs. Use the cylinder to draw the thighs and shins. Note, the lengths of the thighs and shins are equal. Use the circles to draw the knees. Draw the feet as shown in the example below. The general shapes of the werewolf are ready, and from the next step we will start adding details.
Step 4
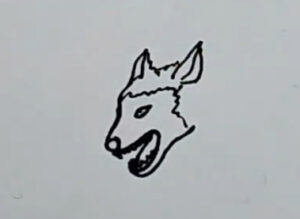
In this step of the werewolf drawing tutorial, we will draw the hell face and the beast face. Use the horizontal line of the symmetrical face to draw the eyes. Please note that the eye must be small and narrow. Below the eyes draw the nose in the shape of a “T”. Draw the mouth of the unusually large beast. Use short strokes to draw sections of hair around the face.
Step 5
In this step we will draw details on the werewolf’s face. Using two thick curved lines draw the eyebrows above the eyes. Add wrinkles on the face, that makes the face more evil and beastly. Draw the triangular teeth in the mouth, as in our example.
Step 6
In this step, we draw the werewolf’s mane. Use lines of different sizes to draw the texture of the hair. The hair lines should be close enough together. Also don’t forget that the hairline must be drawn from the roots to the ends. Circle the lines of the ear like in our example below and move on to the next step.
Step 7
This step is very simple. In this step we draw the lines of the body. Use two long and curved lines to draw the pectoral muscles. Draw the line of the skinny belly as shown in the example below. A little more hair, lying on my shoulder.
Step 8
In this step in the lesson on how to draw werewolves, we will draw the hands. The right hand is quite thin and sinewy. Note that the right hand is human-like but longer and disproportionate. Draw the lines of the hand muscles as shown in the example below. Add hair to the hands. Draw the long fingers and knuckles.
Step 9
Remove the guides from the pins. Draw the lines of the thighs and shins. Draw the knee as shown in the example below. Use short lines to draw the hair on the shin. Draw the feet as shown in the example below. Draw the joints of the feet and toes long.
Step 10
In this step in the lesson on how to draw werewolves, we will add a shadow. First, determine where the light source is coming from. In this lesson, light comes from above. Add shadows using light and liquid expansion. In the darkest areas, add another layer of shadows.
It’s a drawing lesson on how to draw werewolf step by step. If this guide is interesting and informative for you, subscribe to us on social networks. Visit .com for new drawing lessons, bye!
Trackbacks/Pingbacks