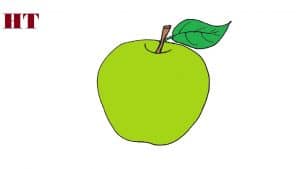
How to draw a green Apple easy with this how-to video and step-by-step drawing instructions. How to draw fruits for beginners and kids.

Please see the drawing tutorial in the video below
You can refer to the simple step-by-step drawing guide below
Step 1
Start by drawing an oval to outline the basic, rounded shape of the apple.
Step 2
Extend the curves down from each side of the oval. These lines continue the contours of the apple.
Step 3
Connect the lines by two short curves. Allow the lines to overlap, forming the uneven base of the apple.
Step 4
Draw a loose, curved “M” shape over the top of the oval. This outlines the upper part of the apple’s unusual shape.
Step 5
Erase guide lines from the apple, leaving a clear border.
Step 6
Draw curves on each side of the apple, further refining its shape.
Step 7
Delete the instructions if needed.
Step 8
Stretch a set of parallel curves from the top of the apple. Connect the lines by a small oval. This forms the stalk of the apple.
Step 9
Finally let’s color the apple, remembering it is a green apple.


