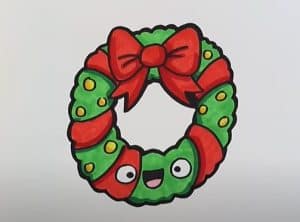
Wreath Drawing easy with this how-to video and step-by-step drawing instructions. How to draw for beginners and kids.
Please see the drawing tutorial in the video below
You can refer to the simple step-by-step drawing guide below
Step 1
Okay, let’s start drawing some garlands, shall we? Start with two circles, one larger than the other, but also merging. Once done, you can draw another circle for the knot of the bow that you will draw later. Finally draw two small balls on either side of the wreath for the mistletoe.
Step 2
Okay, Now you will start sketching the actual shape and texture of this wreath. The lining looks like a razor because this wreath is made from a red pine. Red pine has long hairy branches like needles. I find that this plant is the best to use when making garlands. You will also begin to draw the outline of the leaves for the mistletoe and the original shape of the bow.
Step 3
Finish drawing the mistletoe as you see here and then color and detail the berries. Once you’re done, you’ll have finished sketching the bow, and remember to add the folds, folds, and creases.
Step 4
This is your drawing step. All you have to do is draw a few cranberries, and then complete the bow by drawing loose ribbon. Erase the visible guides and then move around to see how your wreath looks.
Step 5
Here’s the gang, a complete tutorial on “how to draw a garland step by step”. Color the drawing and you’re done.
